
'%20x='0'%20y='0'%20height='100%25'%20width='100%25'%20%0A%20%20%20%20%20%20%20%20%20%20xlink%3Ahref='data:image/jpg;base64,/9j/2wBDAAYEBQYFBAYGBQYHBwYIChAKCgkJChQODwwQFxQYGBcUFhYaHSUfGhsjHBYWICwgIyYnKSopGR8tMC0oMCUoKSj/2wBDAQcHBwoIChMKChMoGhYaKCgoKCgoKCgoKCgoKCgoKCgoKCgoKCgoKCgoKCgoKCgoKCgoKCgoKCgoKCgoKCgoKCj/wgARCAAGAAoDASIAAhEBAxEB/8QAFgABAQEAAAAAAAAAAAAAAAAAAAUG/8QAFQEBAQAAAAAAAAAAAAAAAAAAAwT/2gAMAwEAAhADEAAAAMfOIW//xAAgEAADAAAFBQAAAAAAAAAAAAABAgMABAUREiEiMVFh/9oACAEBAAE/AJ6lGWeN4ZCRkVRHnVgeSjyvRRsD8w+rahZ2rS2zueTBBMAE+uzH/8QAFxEBAAMAAAAAAAAAAAAAAAAAAgARMf/aAAgBAgEBPwAg1k//xAAYEQACAwAAAAAAAAAAAAAAAAAAAQIDEf/aAAgBAwEBPwCyb0//2Q=='%3E%3C/image%3E%3C/svg%3E)
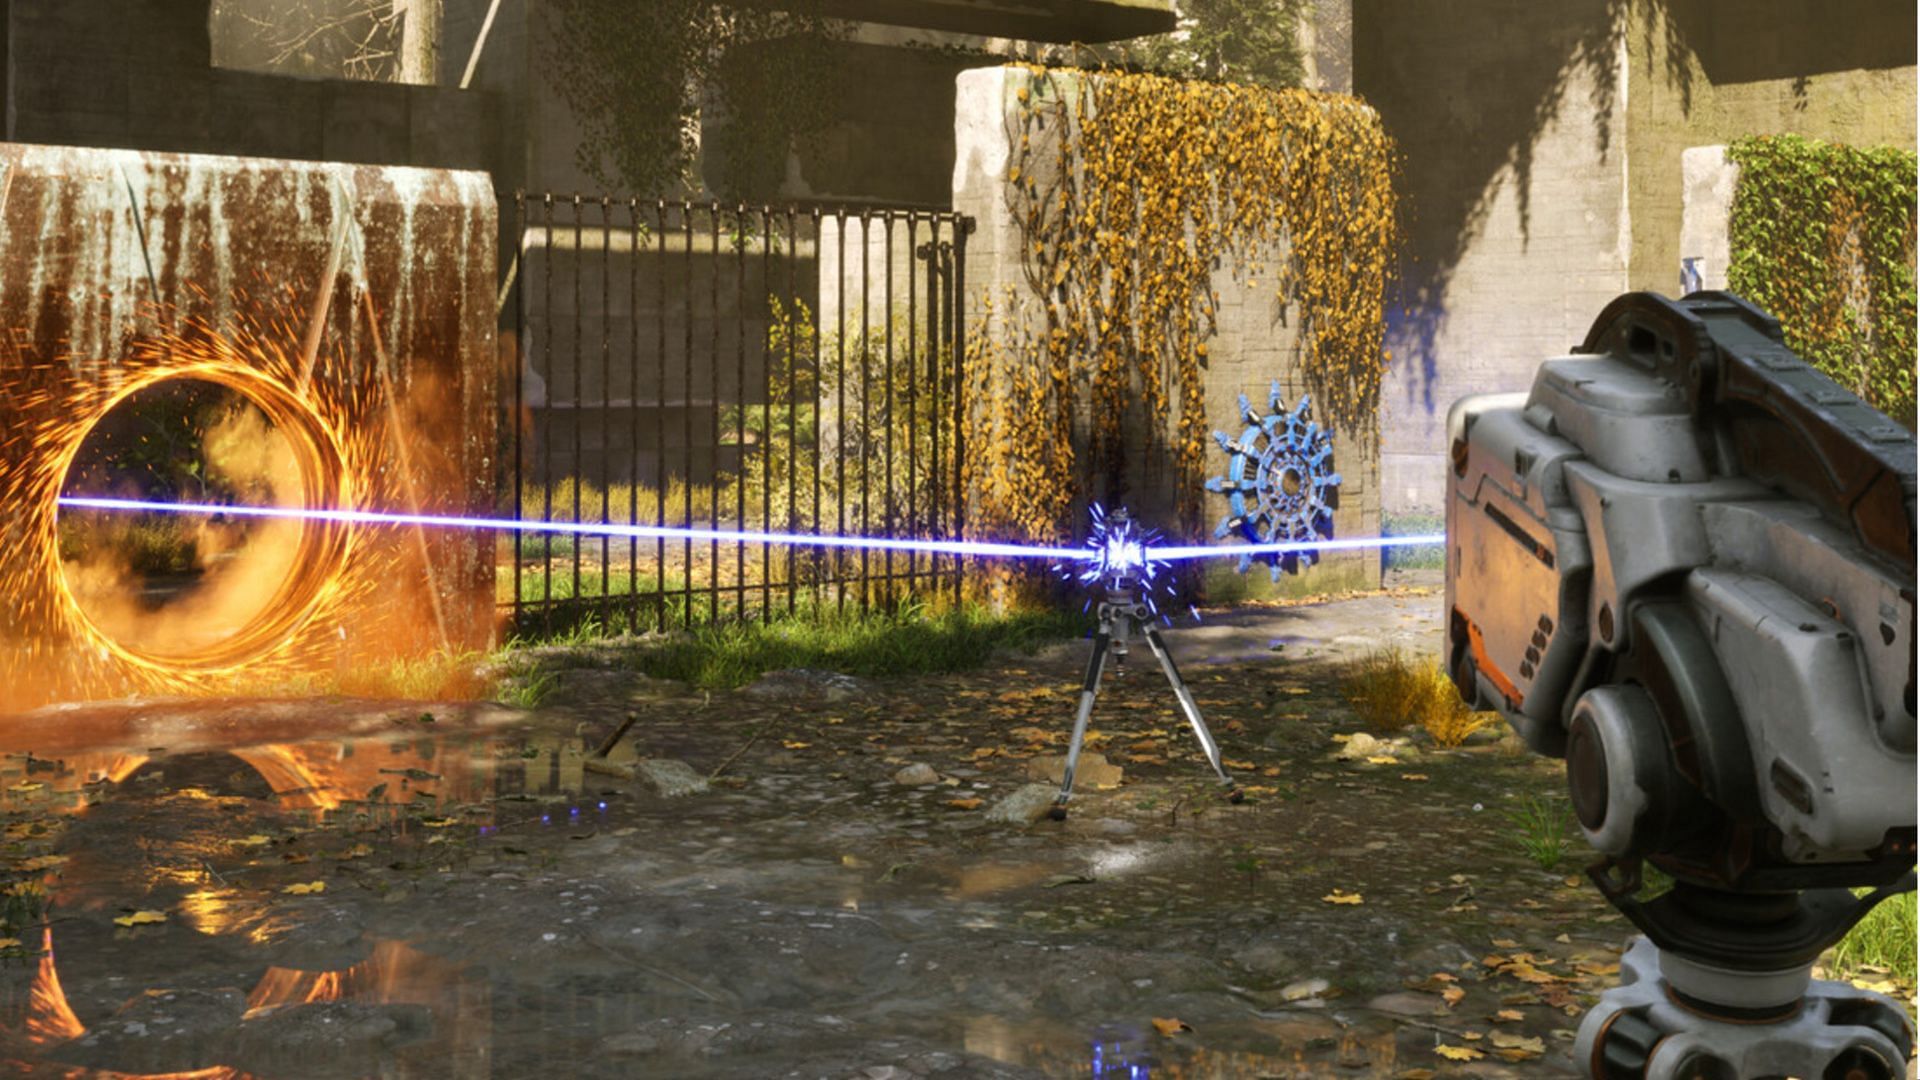
The Keeping Connections puzzle in The Talos Principle 2 is a part of the Lost puzzles situated in the game's East section. The objective of this puzzle is straightforward: you must activate all the switches and ensure they are properly aligned with the connectors. Throughout this challenge, you'll encounter key tools, such as the jammer and two connectors.
Utilizing the jammer allows you to create openings in the walls, facilitating the identification of switches and ensuring their alignment with the connectors. Once all the switches are successfully activated, the laser barriers that impede your progress toward the main device will open up. Interacting with the main device successfully completes this challenge.
This article outlines effective strategies for conquering the Keeping Connections puzzle in The Talos Principle 2.

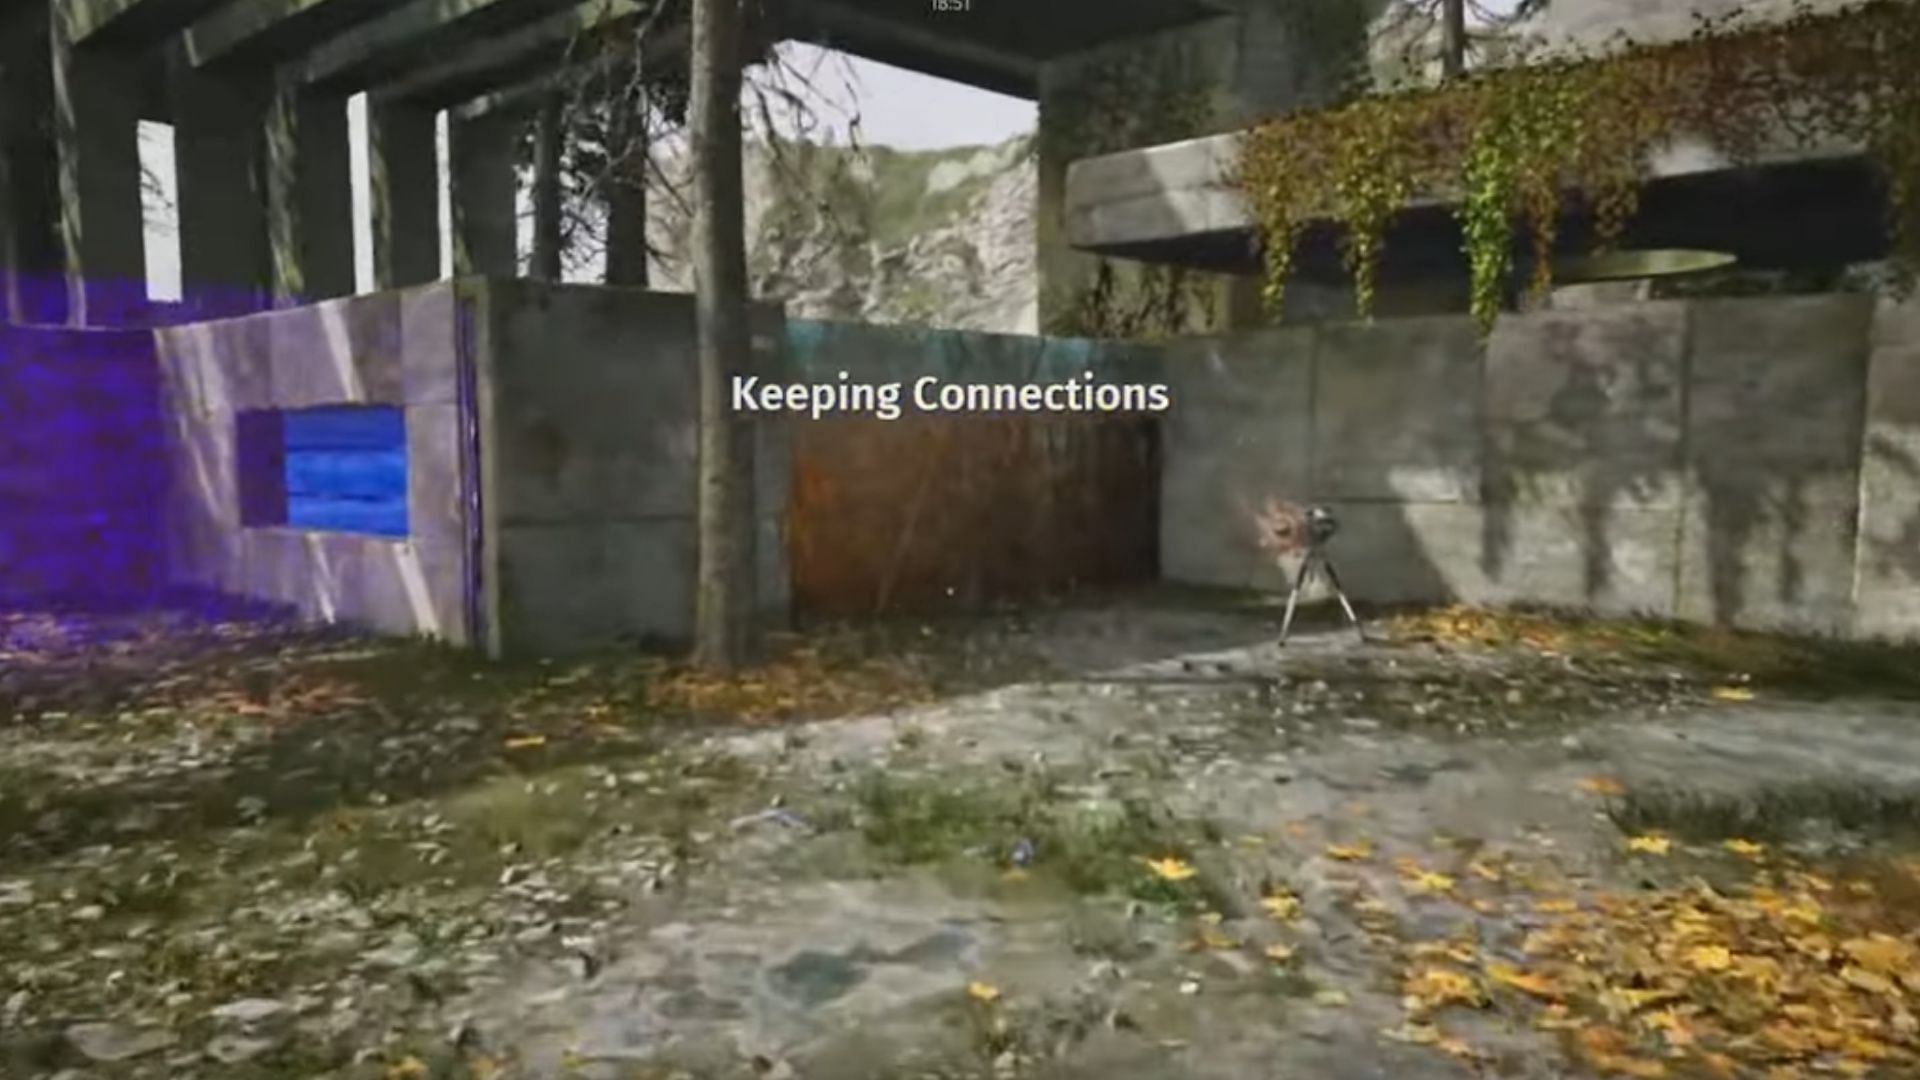
How to solve Keeping Connections in The Talos Principle 2
Upon entering the puzzle area, head to the right corner section, where you'll discover a jammer. Pick it up and proceed towards the left side, where a rusted iron wall is located. The Keeping Connections puzzle in The Talos Principle 2 contains two rusted iron walls, one on the left and another on the right.
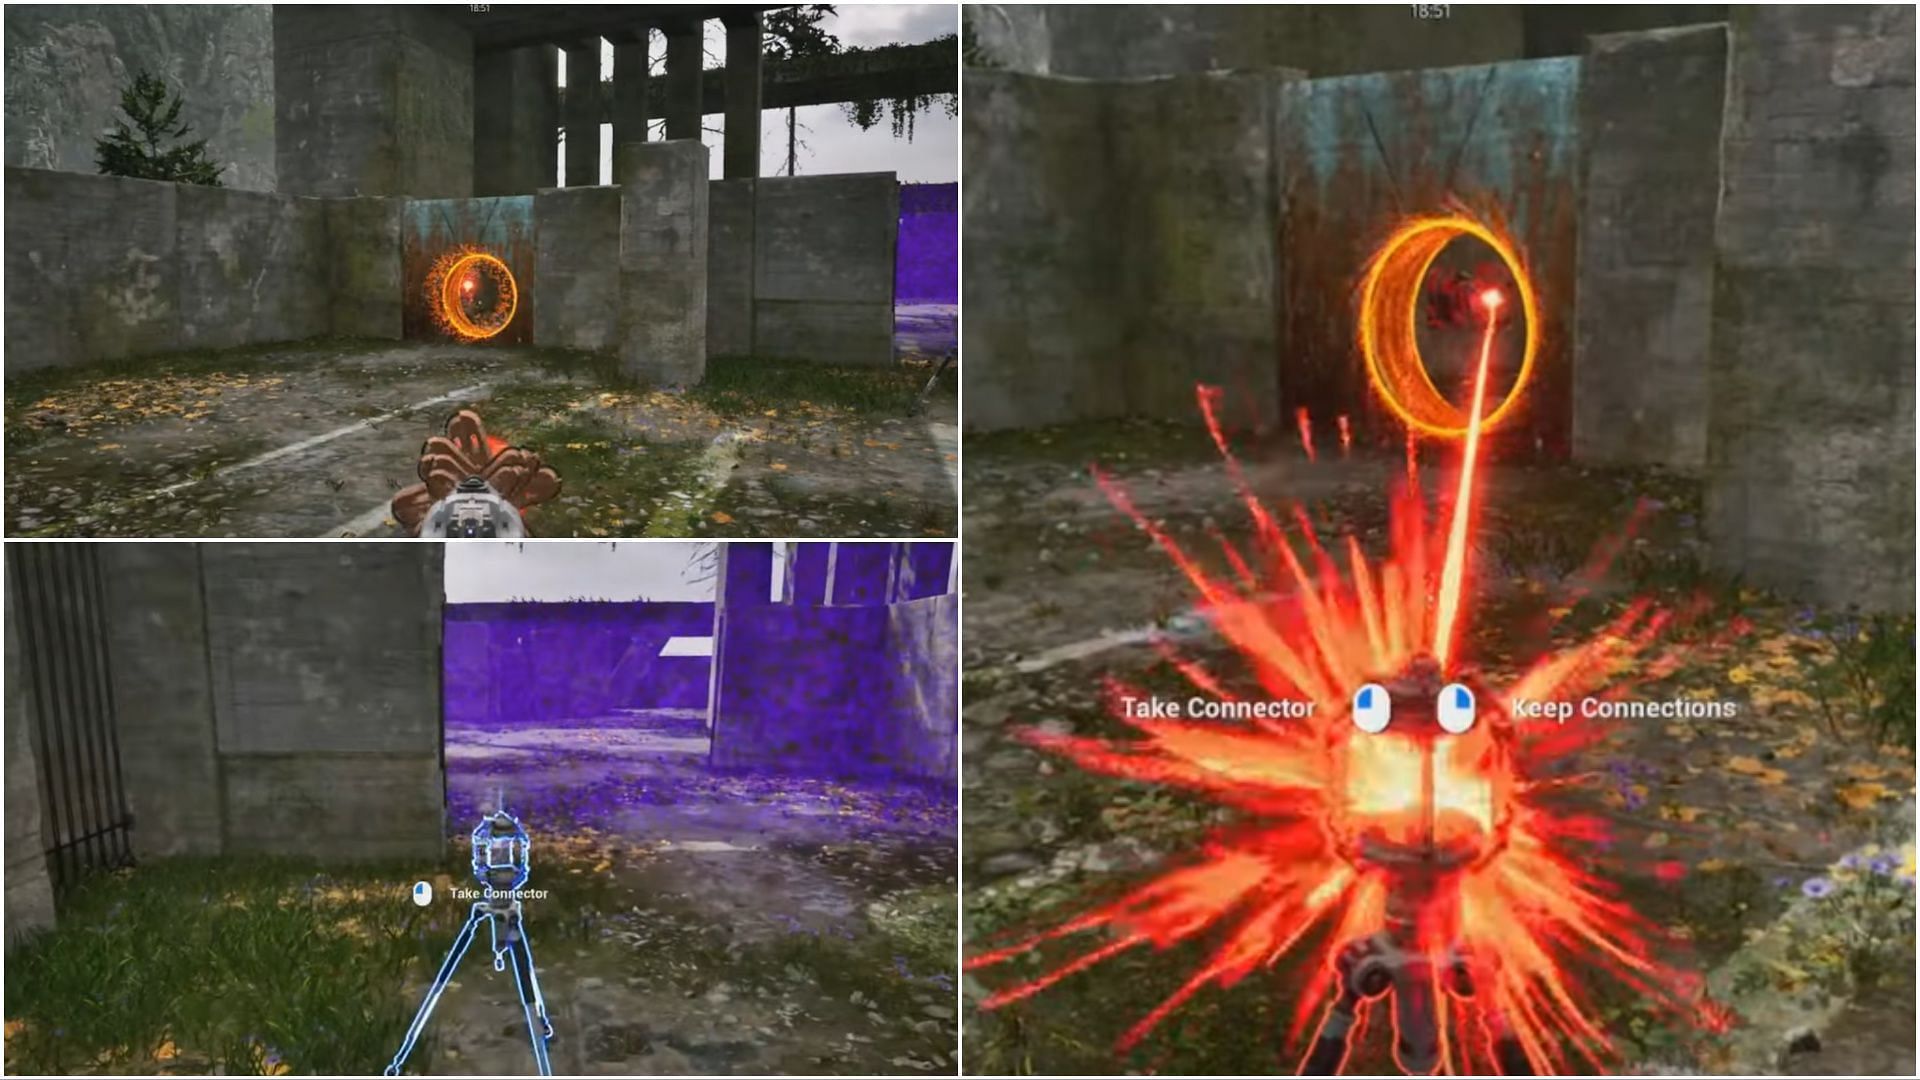
Once you have obtained the jammer, move to the left side and target the wall to create an opening. Through this opening, you should spot a red switch. After creating the hole in the wall, continue straight until you encounter a connector. Pick it up and return to the jammer's vicinity. Select the red switch visible through the hole and then place the connector on the ground, aligning it with the red switch.
Now, take the jammer and aim it at the right side of the rusted iron wall. Through the hole, you should identify another red switch. Return to the left rusted iron wall, retrieve the connector, and head towards the right rusted iron wall. Through the hole, select the red switch and place the connector beyond it, aligning with both the left and right red switches.
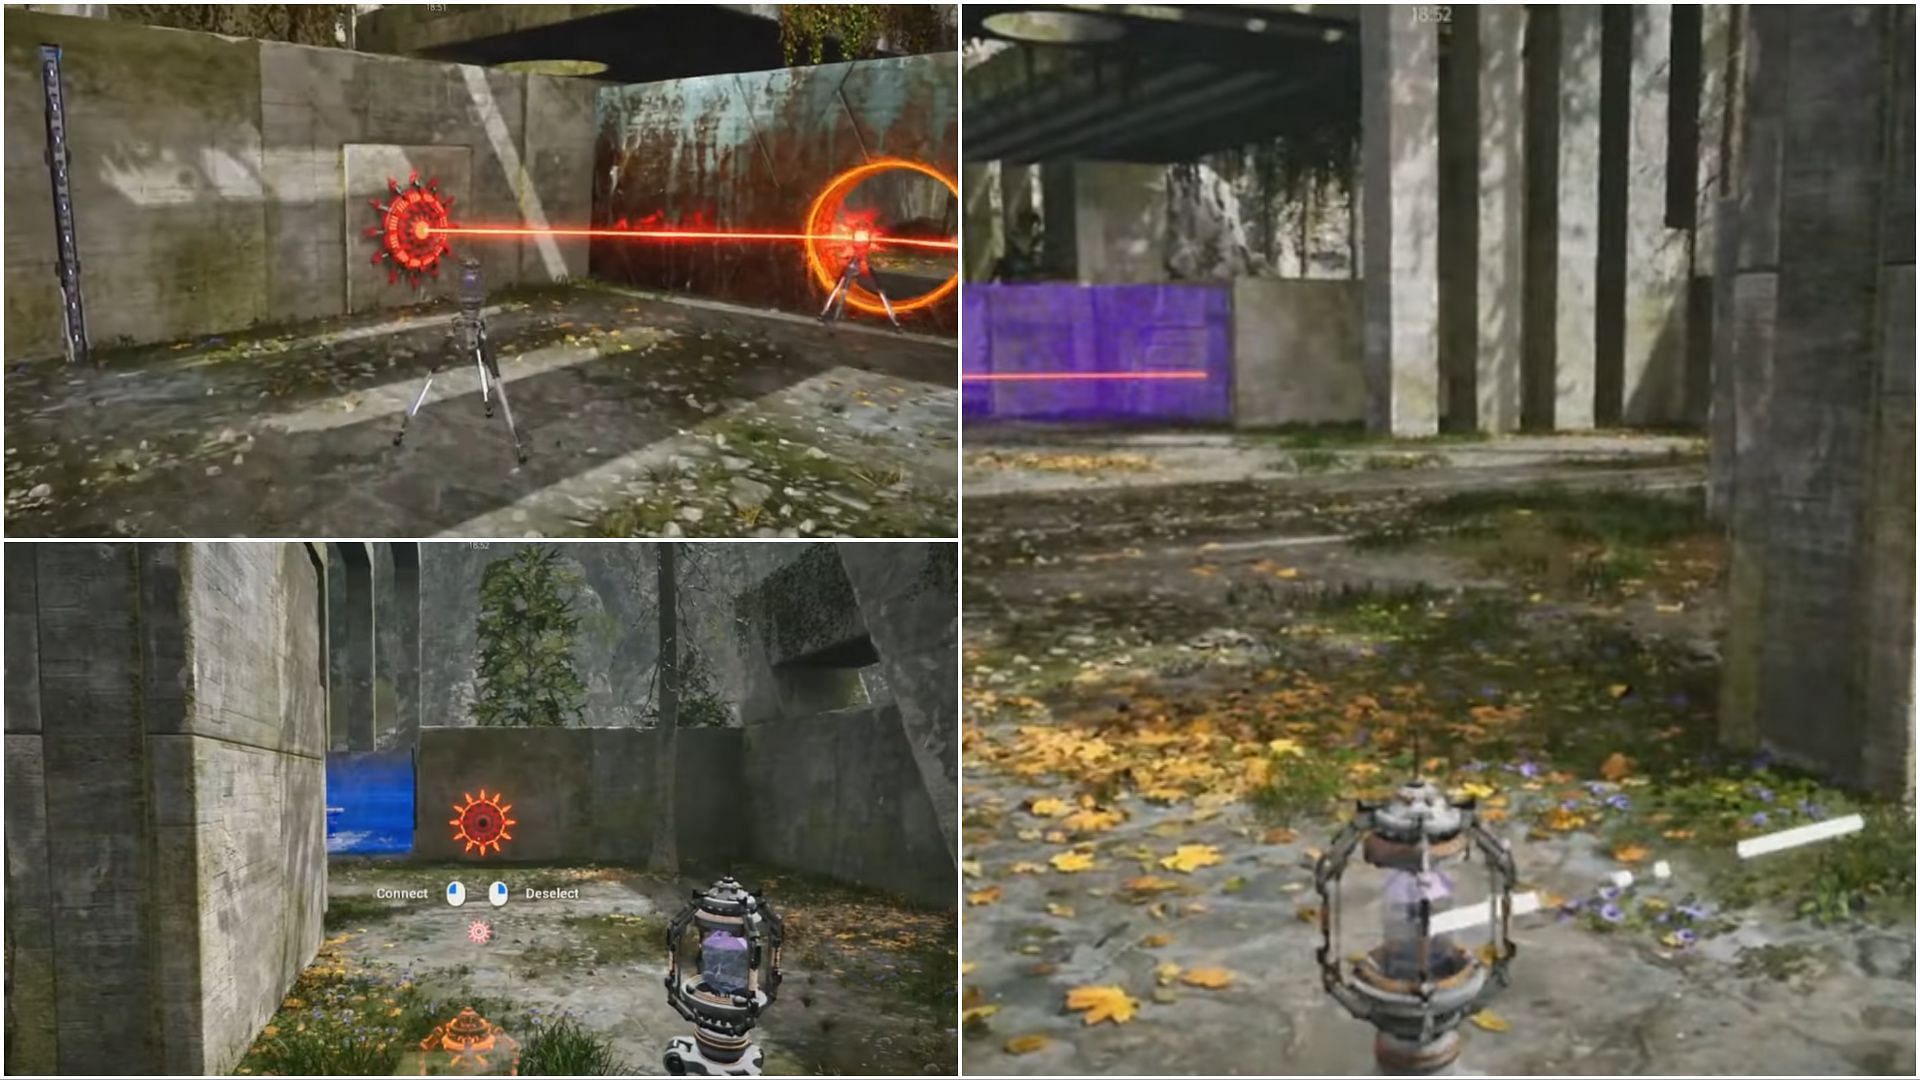
Subsequently, proceed beyond the right side of the rusted iron wall to find another connector. Pick it up, turn around, and go straight. Then, take a left turn, and you will spot a red switch. Select it and place the connector on the ground.
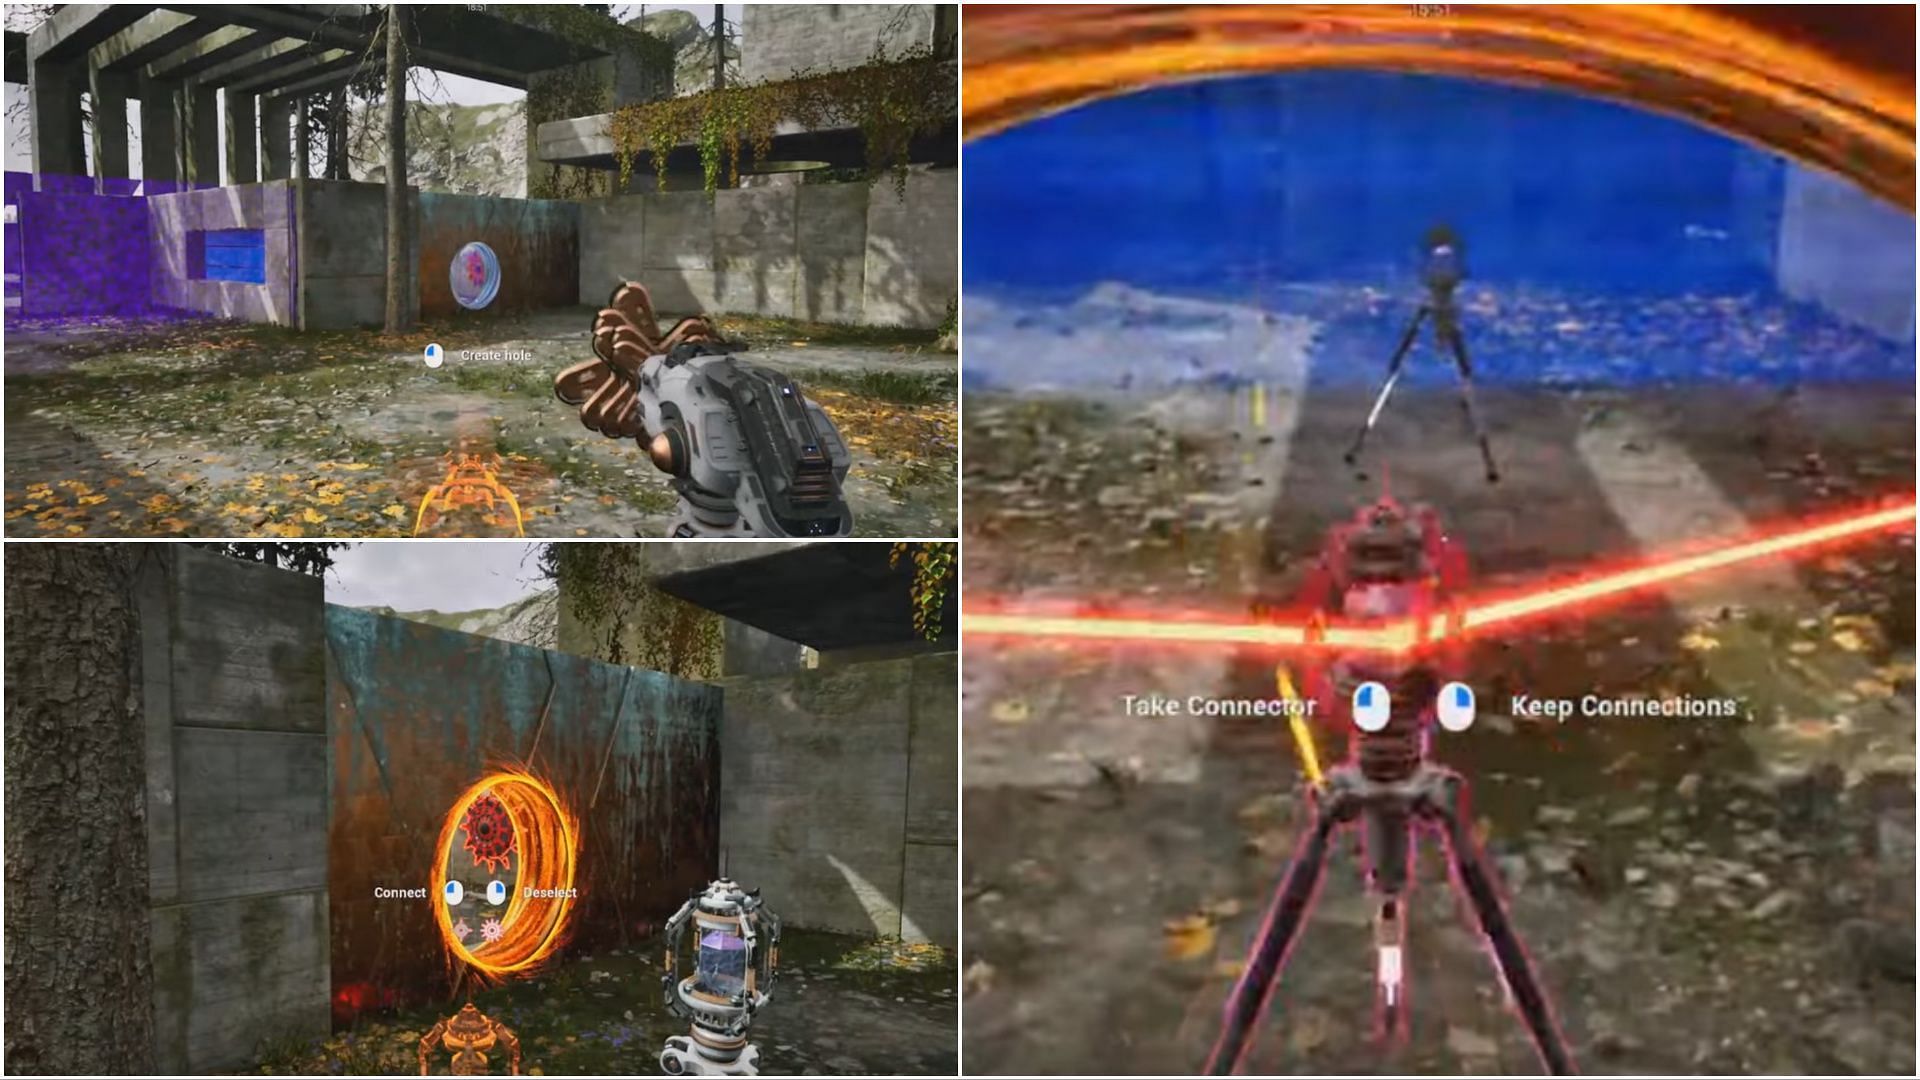
Return to the right side iron wall where you previously positioned the connector. Pick it up, head towards the center of the puzzle area, and then place it on the ground. Then, pick up the jammer and target the left rusted iron wall to locate the red switch. Retrieve the connector and select the other connector placed earlier, visible straight ahead.
Afterward, choose the red switch on the left side of the iron wall, placing the connector on the ground to align with the red switches. Your path towards the main device is now open. Interact with the main device twice to complete the Keeping Connections puzzle in The Talos Principle 2.
Obsessed with Crosswords, Wordle, and other word games? Take our quick survey and let us get to know you better!
