
'%20x='0'%20y='0'%20height='100%25'%20width='100%25'%20%0A%20%20%20%20%20%20%20%20%20%20xlink%3Ahref='data:image/jpg;base64,/9j/2wBDAAYEBQYFBAYGBQYHBwYIChAKCgkJChQODwwQFxQYGBcUFhYaHSUfGhsjHBYWICwgIyYnKSopGR8tMC0oMCUoKSj/2wBDAQcHBwoIChMKChMoGhYaKCgoKCgoKCgoKCgoKCgoKCgoKCgoKCgoKCgoKCgoKCgoKCgoKCgoKCgoKCgoKCgoKCj/wgARCAAGAAoDASIAAhEBAxEB/8QAFgABAQEAAAAAAAAAAAAAAAAAAAUH/8QAFQEBAQAAAAAAAAAAAAAAAAAAAgP/2gAMAwEAAhADEAAAAMahEX//xAAfEAEAAQQBBQAAAAAAAAAAAAACAQADBAUREiFBUWH/2gAIAQEAAT8A1e7v2dN0O/mKe8FHJZk+vNLOyWpSutqZ5lJczP2a/8QAGBEAAgMAAAAAAAAAAAAAAAAAAAECAyH/2gAIAQIBAT8ArWyP/8QAFREBAQAAAAAAAAAAAAAAAAAAAAH/2gAIAQMBAT8Aj//Z'%3E%3C/image%3E%3C/svg%3E)
Food is one of Minecraft's most important resources. Players have to eat to avoid starvation, but they can also heal through food items. This means that one of the first things to do in any new survival world is to set up a basic crop farm for sustainable early-game food.
Detailed below is how to get started with a basic food farm in Minecraft 1.20.

How to make a basic food farm in Minecraft
1) Collect seeds
The first thing you'll need to do to set up a sustainable crop farm for your Minecraft starter base is explore around and collect seeds to plant. Thankfully, many of the game's crops are quite easy to start farming.
Wheat seeds are the easiest to find, occasionally dropping when grass is broken. Sugar cane tends to be randomly generated throughout the world. Beets, carrots, potatoes, melons, and pumpkins are most often found in villages, making these structures great for food as well as Minecraft's powerful villager trading.
Many of these seeds and crops can also be acquired by other means. For example, zombies can rarely drop both carrots and potatoes. If you happen to find a mineshaft, check the chests, as they can contain seeds for melons, pumpkins, and beetroot. However, villages and grass tend to be the best ways to collect the large quantity of items needed to set up a farm.
2) Clear out an area
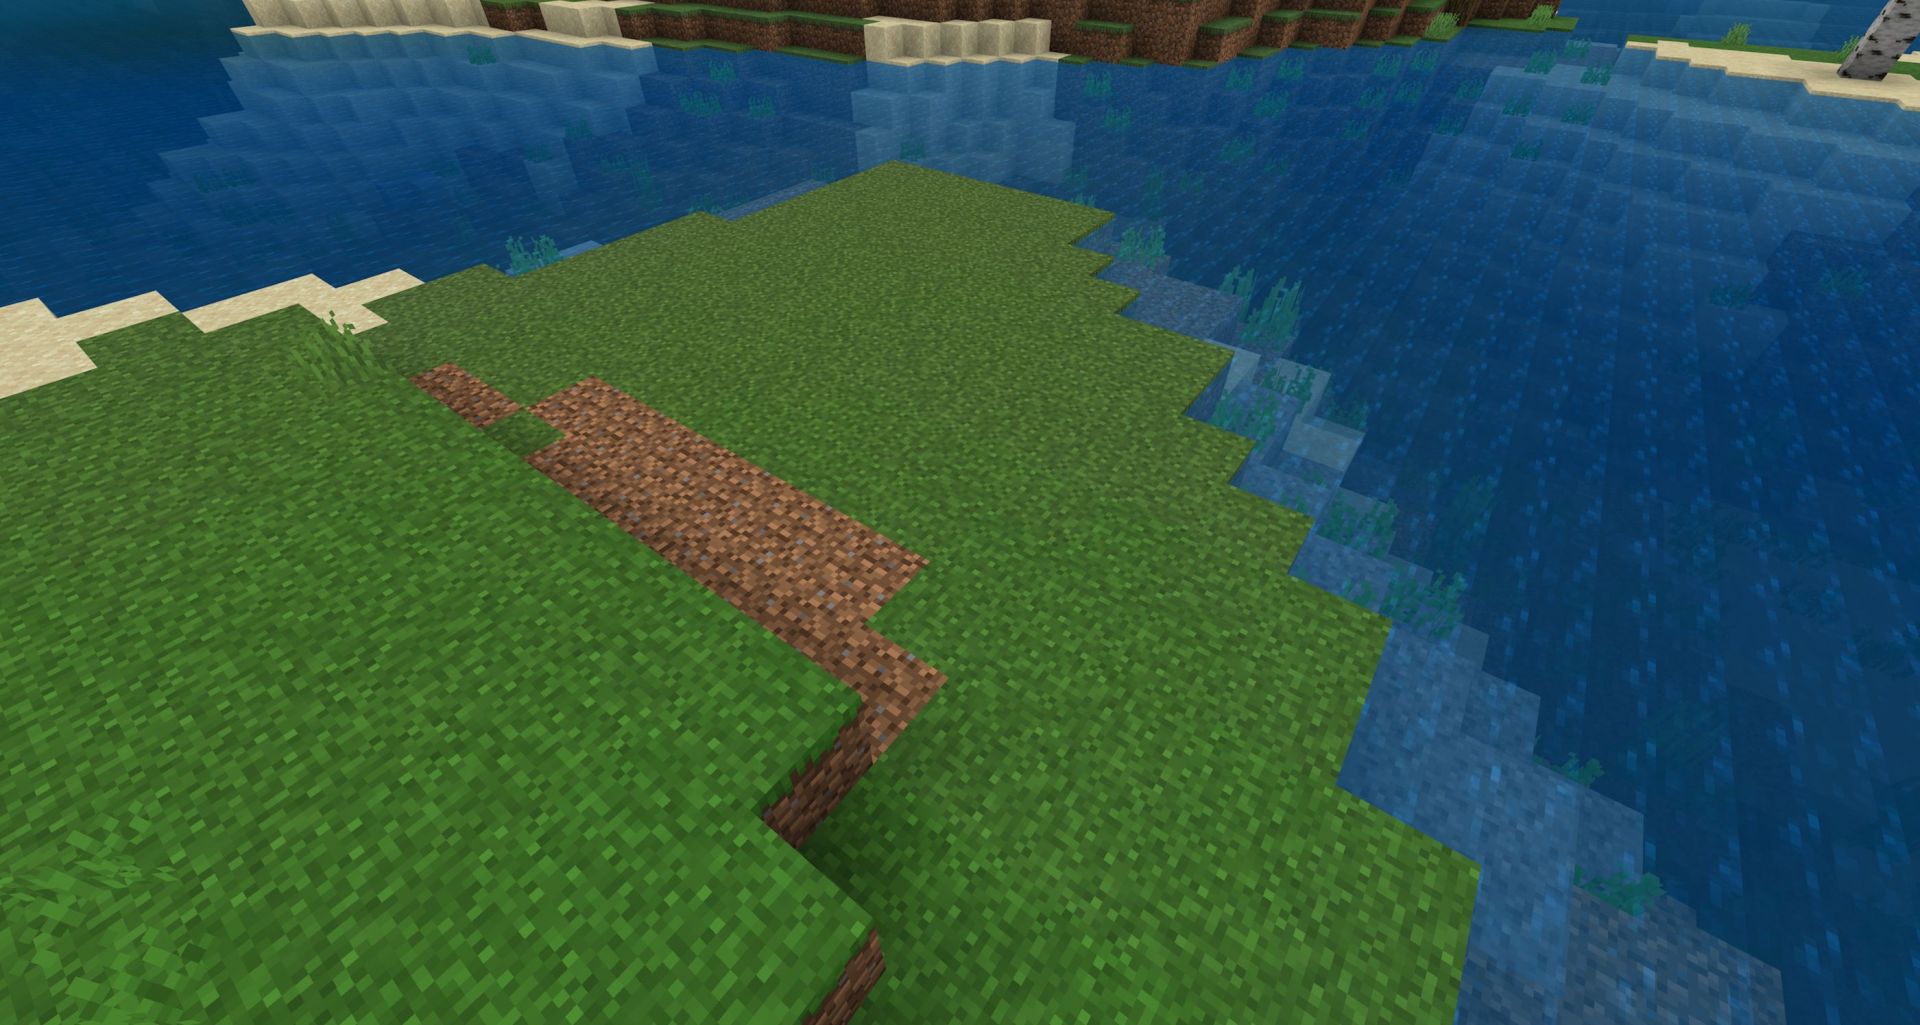
The next major step you need to take is deciding where your farm will be built. If you already have an established base, it might be worth adding an extra wing or basement area, but if you're in a new world, it'll be much quicker to build a farm next to a river.
Either way, you'll need to clear the area to prepare it for farming. Ensure that the area is level. If you are building an area, leave spots for water every ninth row, as a source block can hydrate up to four blocks away. If you are building a farm along a river, clear it out and flatten an area six blocks deep. This will give you four rows of crops, a safe row to walk on, and then a spot to place your fences.
3) Set up the farmland
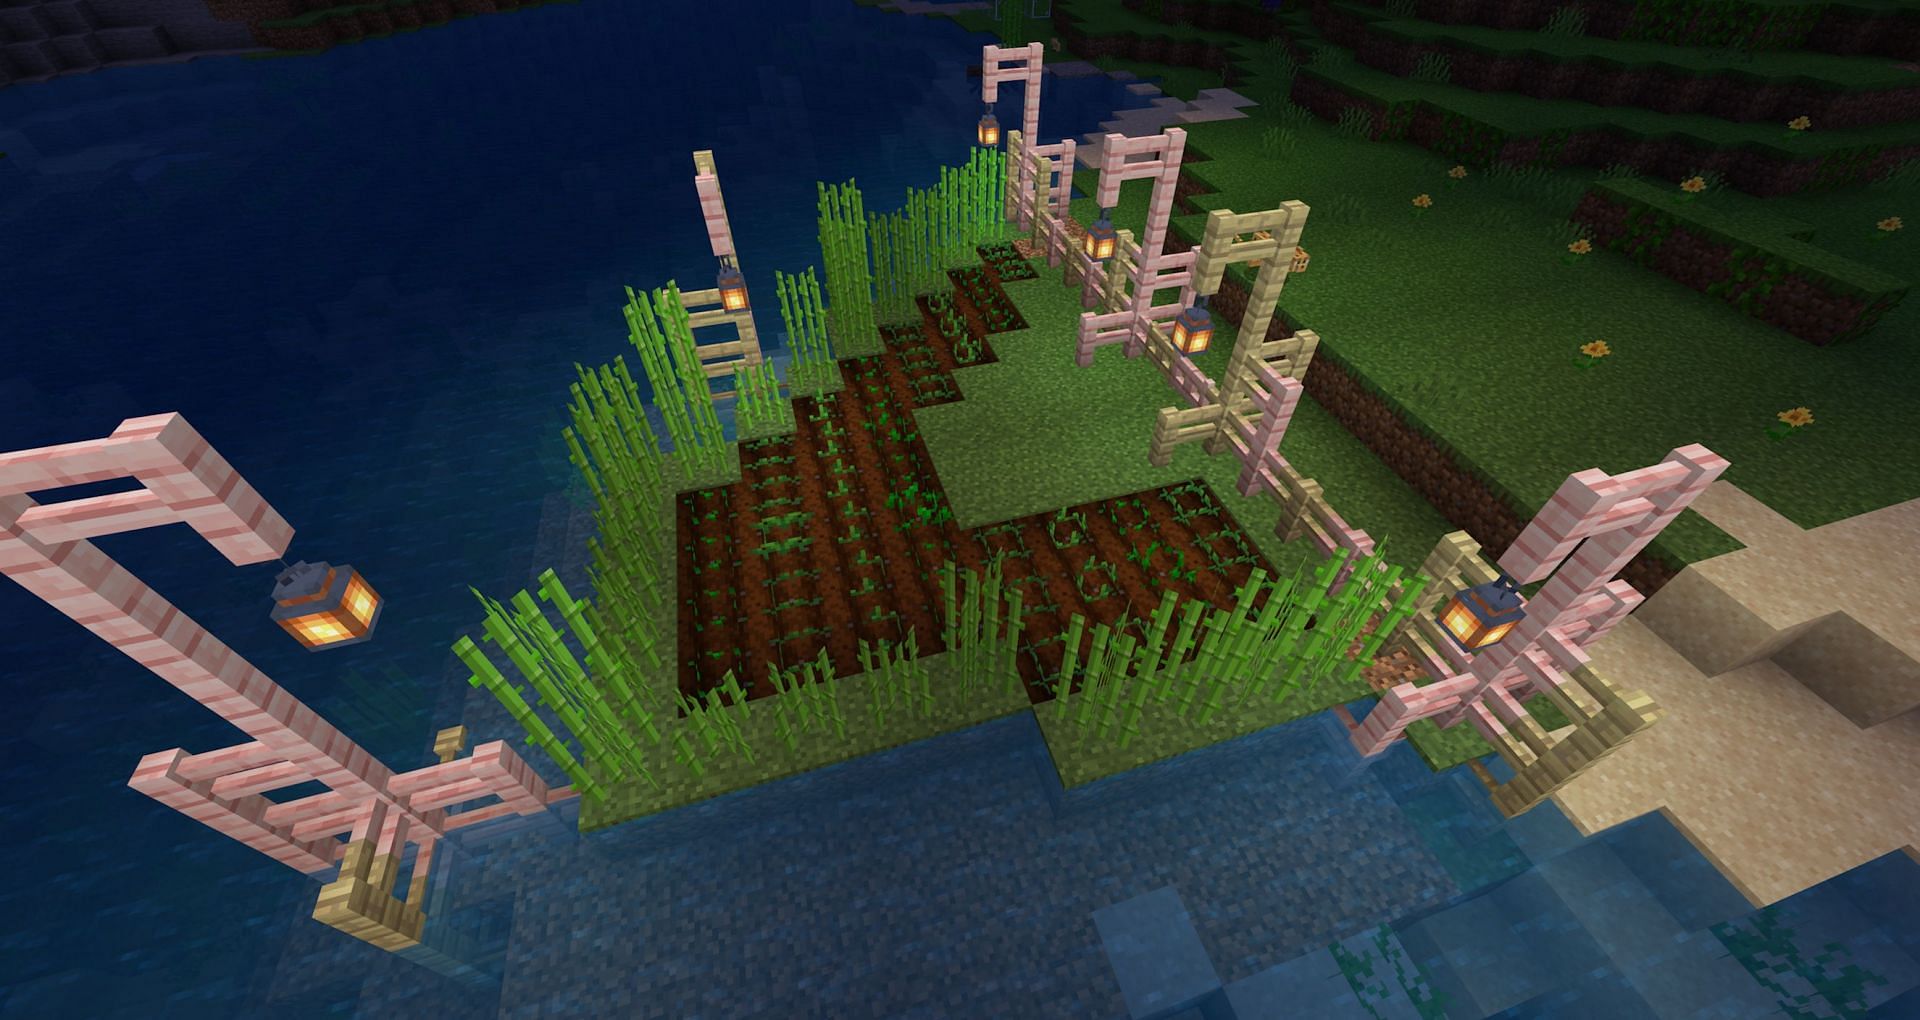
Now that you have cleared out the area in which the farm will be built, the time has come to start placing blocks. There are a ton of different farm designs, ranging from industrial automated farms to beautiful gardens, that would fit wonderfully in any of Minecraft's best cottagecore resource packs.
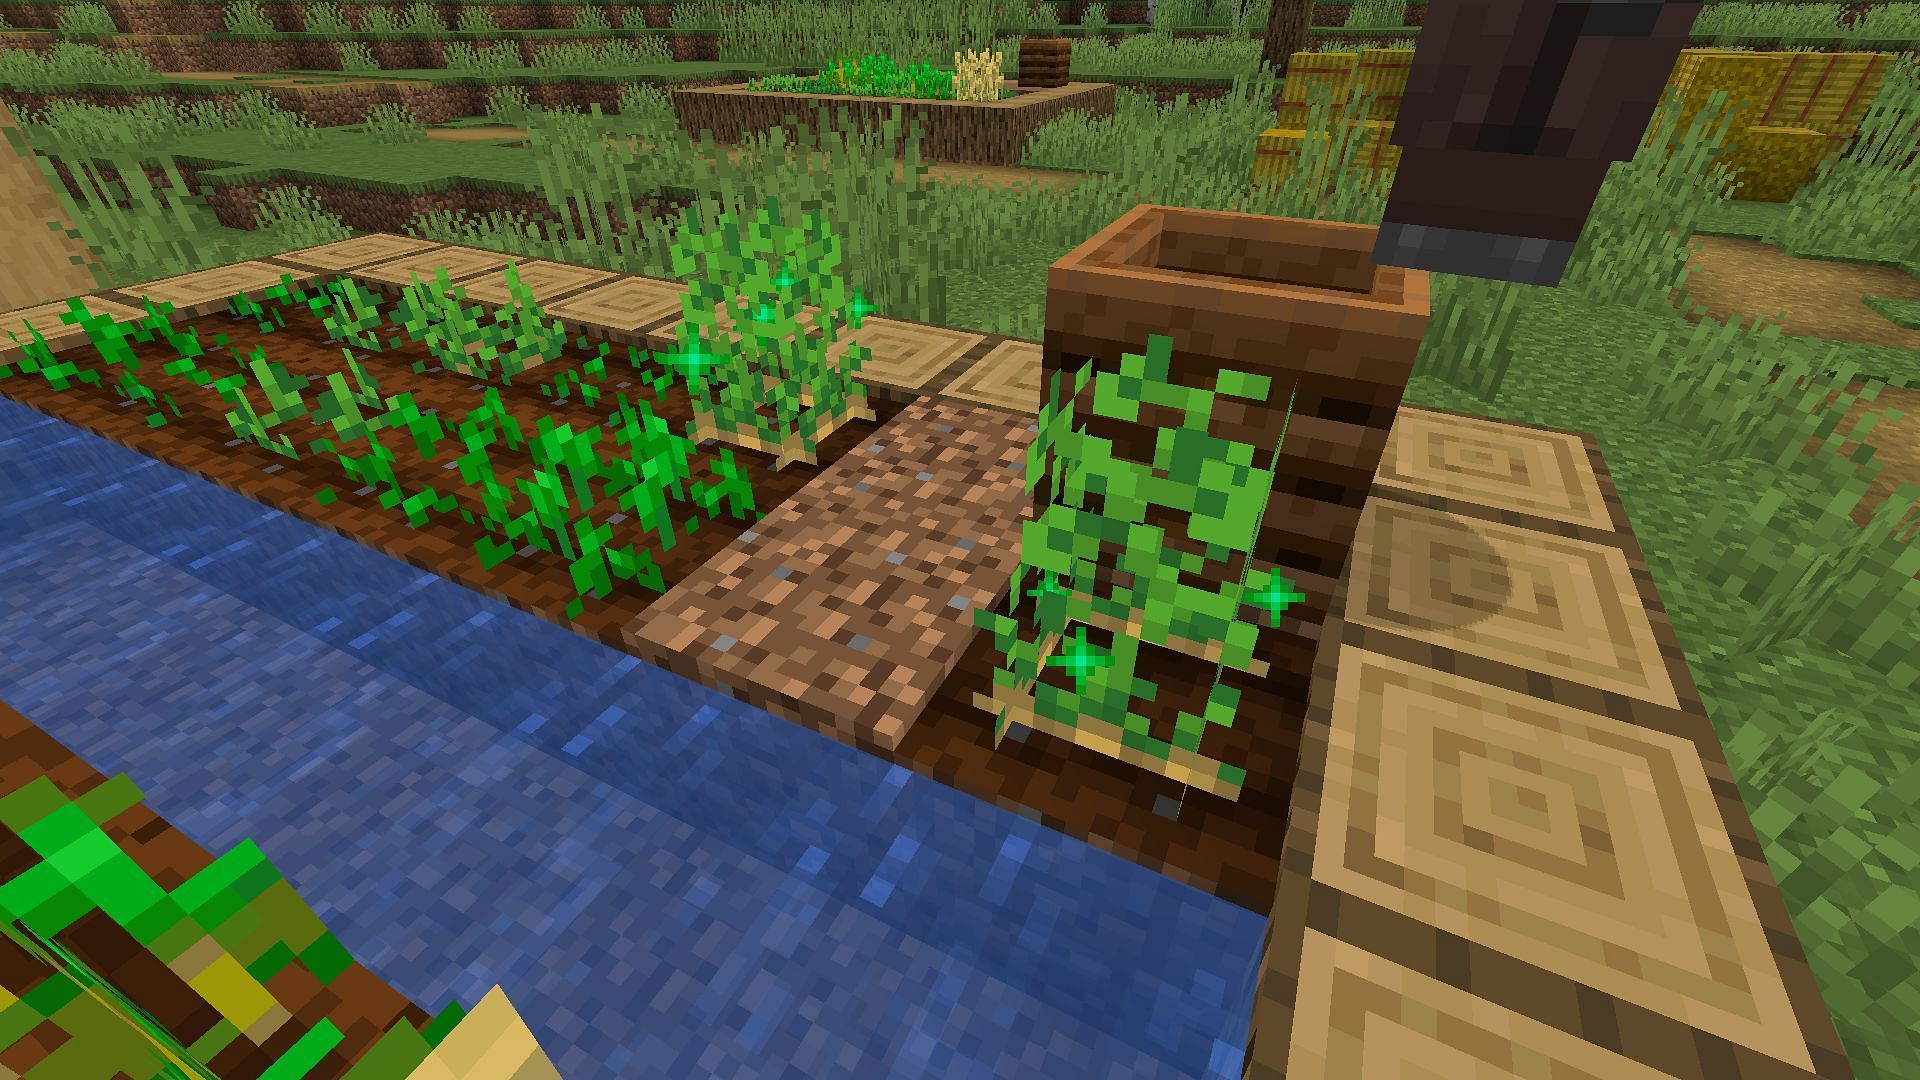
No matter what the design, though, the basics remain the same. The next thing you'll want to do is put down any missing water source blocks. The reason you need to do this first is that dirt that is not hydrated will revert from tilled soil back to regular dirt. Placing water first stops this from happening. You will next need to craft a hoe and use it to till dirt into plantable land.
Once the land is tilled, plant the seeds you collected. Try to get a minimum of two different crops, as planting different seeds next to each other significantly increases their growth speed. Additionally, keep in mind that sugarcane must be planted directly adjacent to water when designing your farm. You also should ensure the area is brightly lit, as crops can only grow in the light.
4) Profit

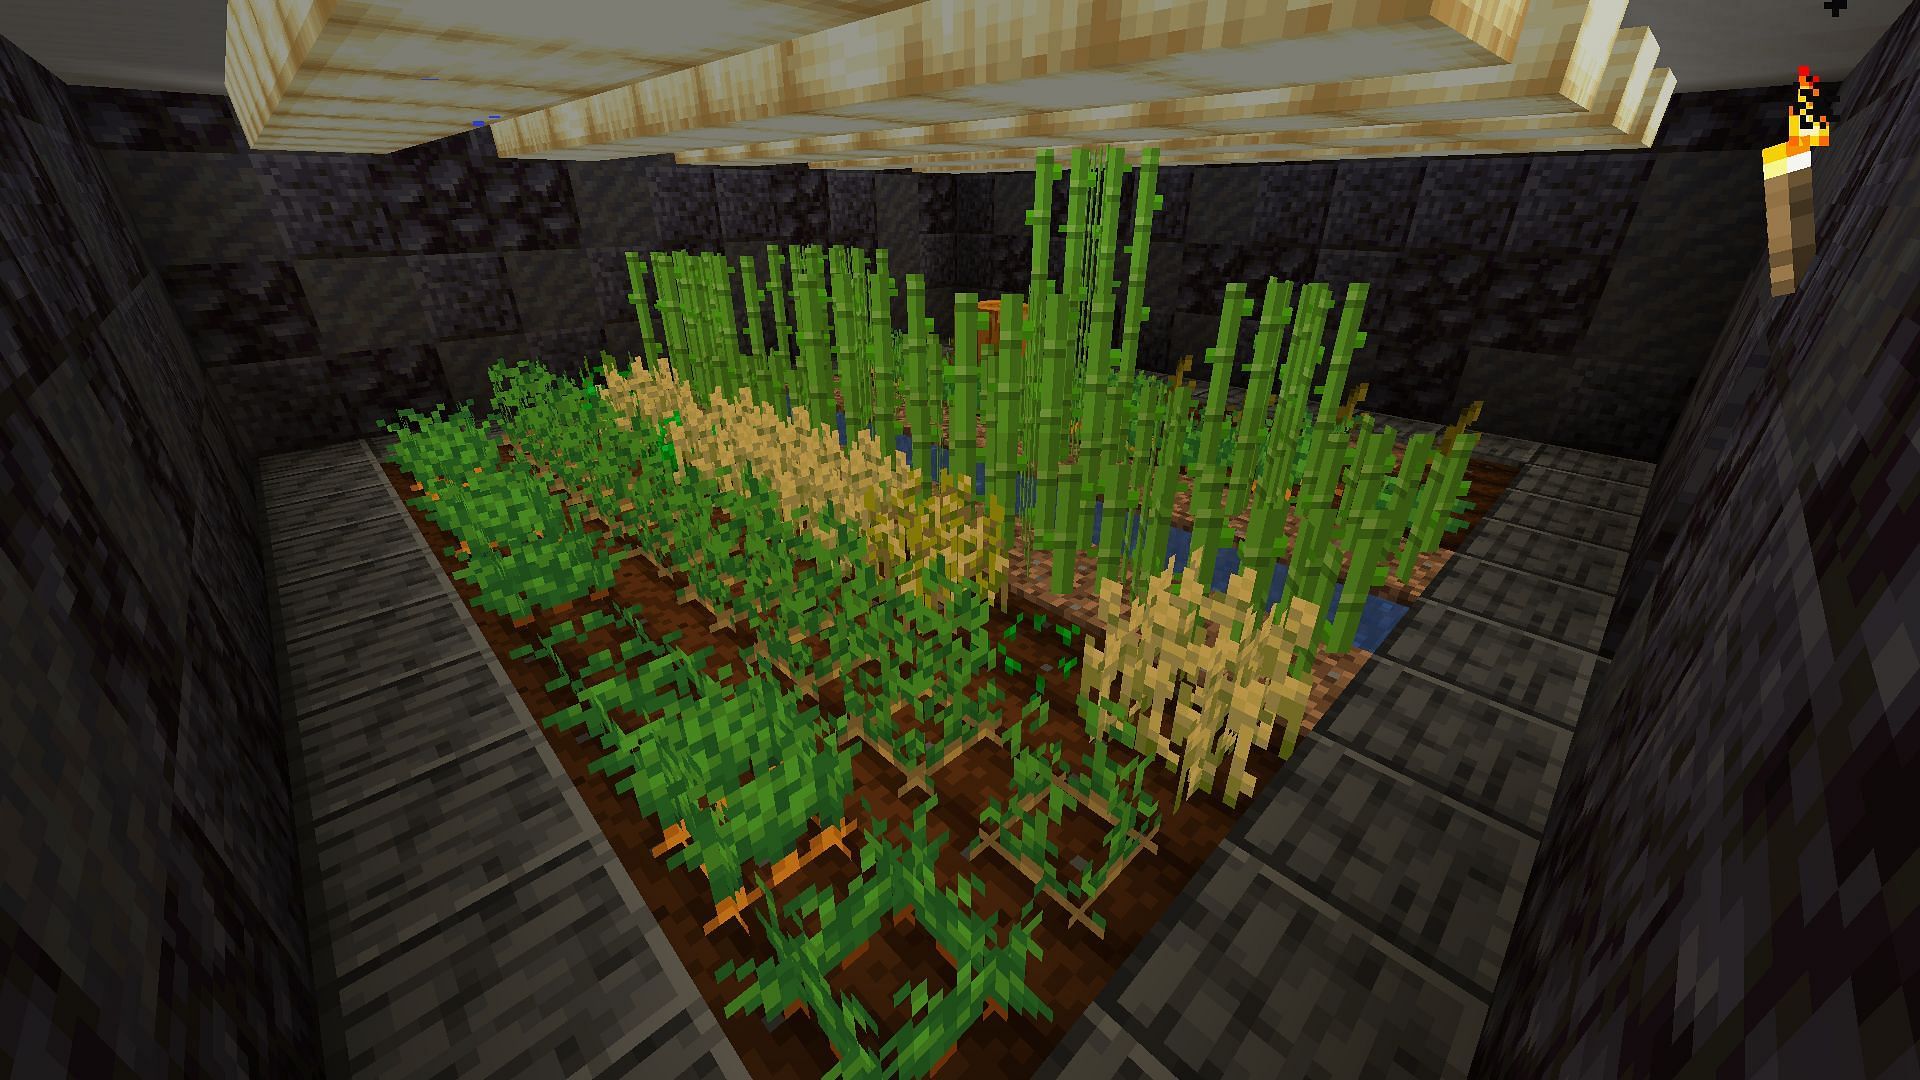
Now that the seeds have been successfully planted and the farm is illuminated with torches, all you need to do is wait. Eventually, the crops will begin to grow, allowing for a sustainable food source.
With easy access to food, you can spend less time worrying about your hearts and more time upgrading your Minecraft survival base. And once the starter farm finally starts to get too slow, you can always replace it with one of Minecraft's early-game automated farms, which should speed up food production significantly.
Obsessed with Crosswords, Wordle, and other word games? Take our quick survey and let us get to know you better!
