
'%20x='0'%20y='0'%20height='100%25'%20width='100%25'%20%0A%20%20%20%20%20%20%20%20%20%20xlink%3Ahref='data:image/jpg;base64,/9j/2wBDAAYEBQYFBAYGBQYHBwYIChAKCgkJChQODwwQFxQYGBcUFhYaHSUfGhsjHBYWICwgIyYnKSopGR8tMC0oMCUoKSj/2wBDAQcHBwoIChMKChMoGhYaKCgoKCgoKCgoKCgoKCgoKCgoKCgoKCgoKCgoKCgoKCgoKCgoKCgoKCgoKCgoKCgoKCj/wgARCAAIAAoDASIAAhEBAxEB/8QAFQABAQAAAAAAAAAAAAAAAAAABAf/2gAIAQEAAAAArJf/xAAUAQEAAAAAAAAAAAAAAAAAAAAD/9oACAECEAAAAF//xAAUAQEAAAAAAAAAAAAAAAAAAAAD/9oACAEDEAAAAC//xAAgEAABAwQCAwAAAAAAAAAAAAABAgQFAAMREhNBIiPT/9oACAEBAAE/AGkUk8S7ci+ftdD7hGZ3V0QoAAijATefF9c16zD2fvX/xAAYEQACAwAAAAAAAAAAAAAAAAAAAQMTUv/aAAgBAgEBPwC+TTP/xAAXEQADAQAAAAAAAAAAAAAAAAAAAhNR/9oACAEDAQE/AJph/9k='%3E%3C/image%3E%3C/svg%3E)
Minecraft has a lot of different biomes. With the large spread of biomes comes the inspiration for totally different builds depending on where the player happens to spawn or their personal preference for a biome. For example, jungle players might prefer treehouses, while desert players might prefer pyramids.
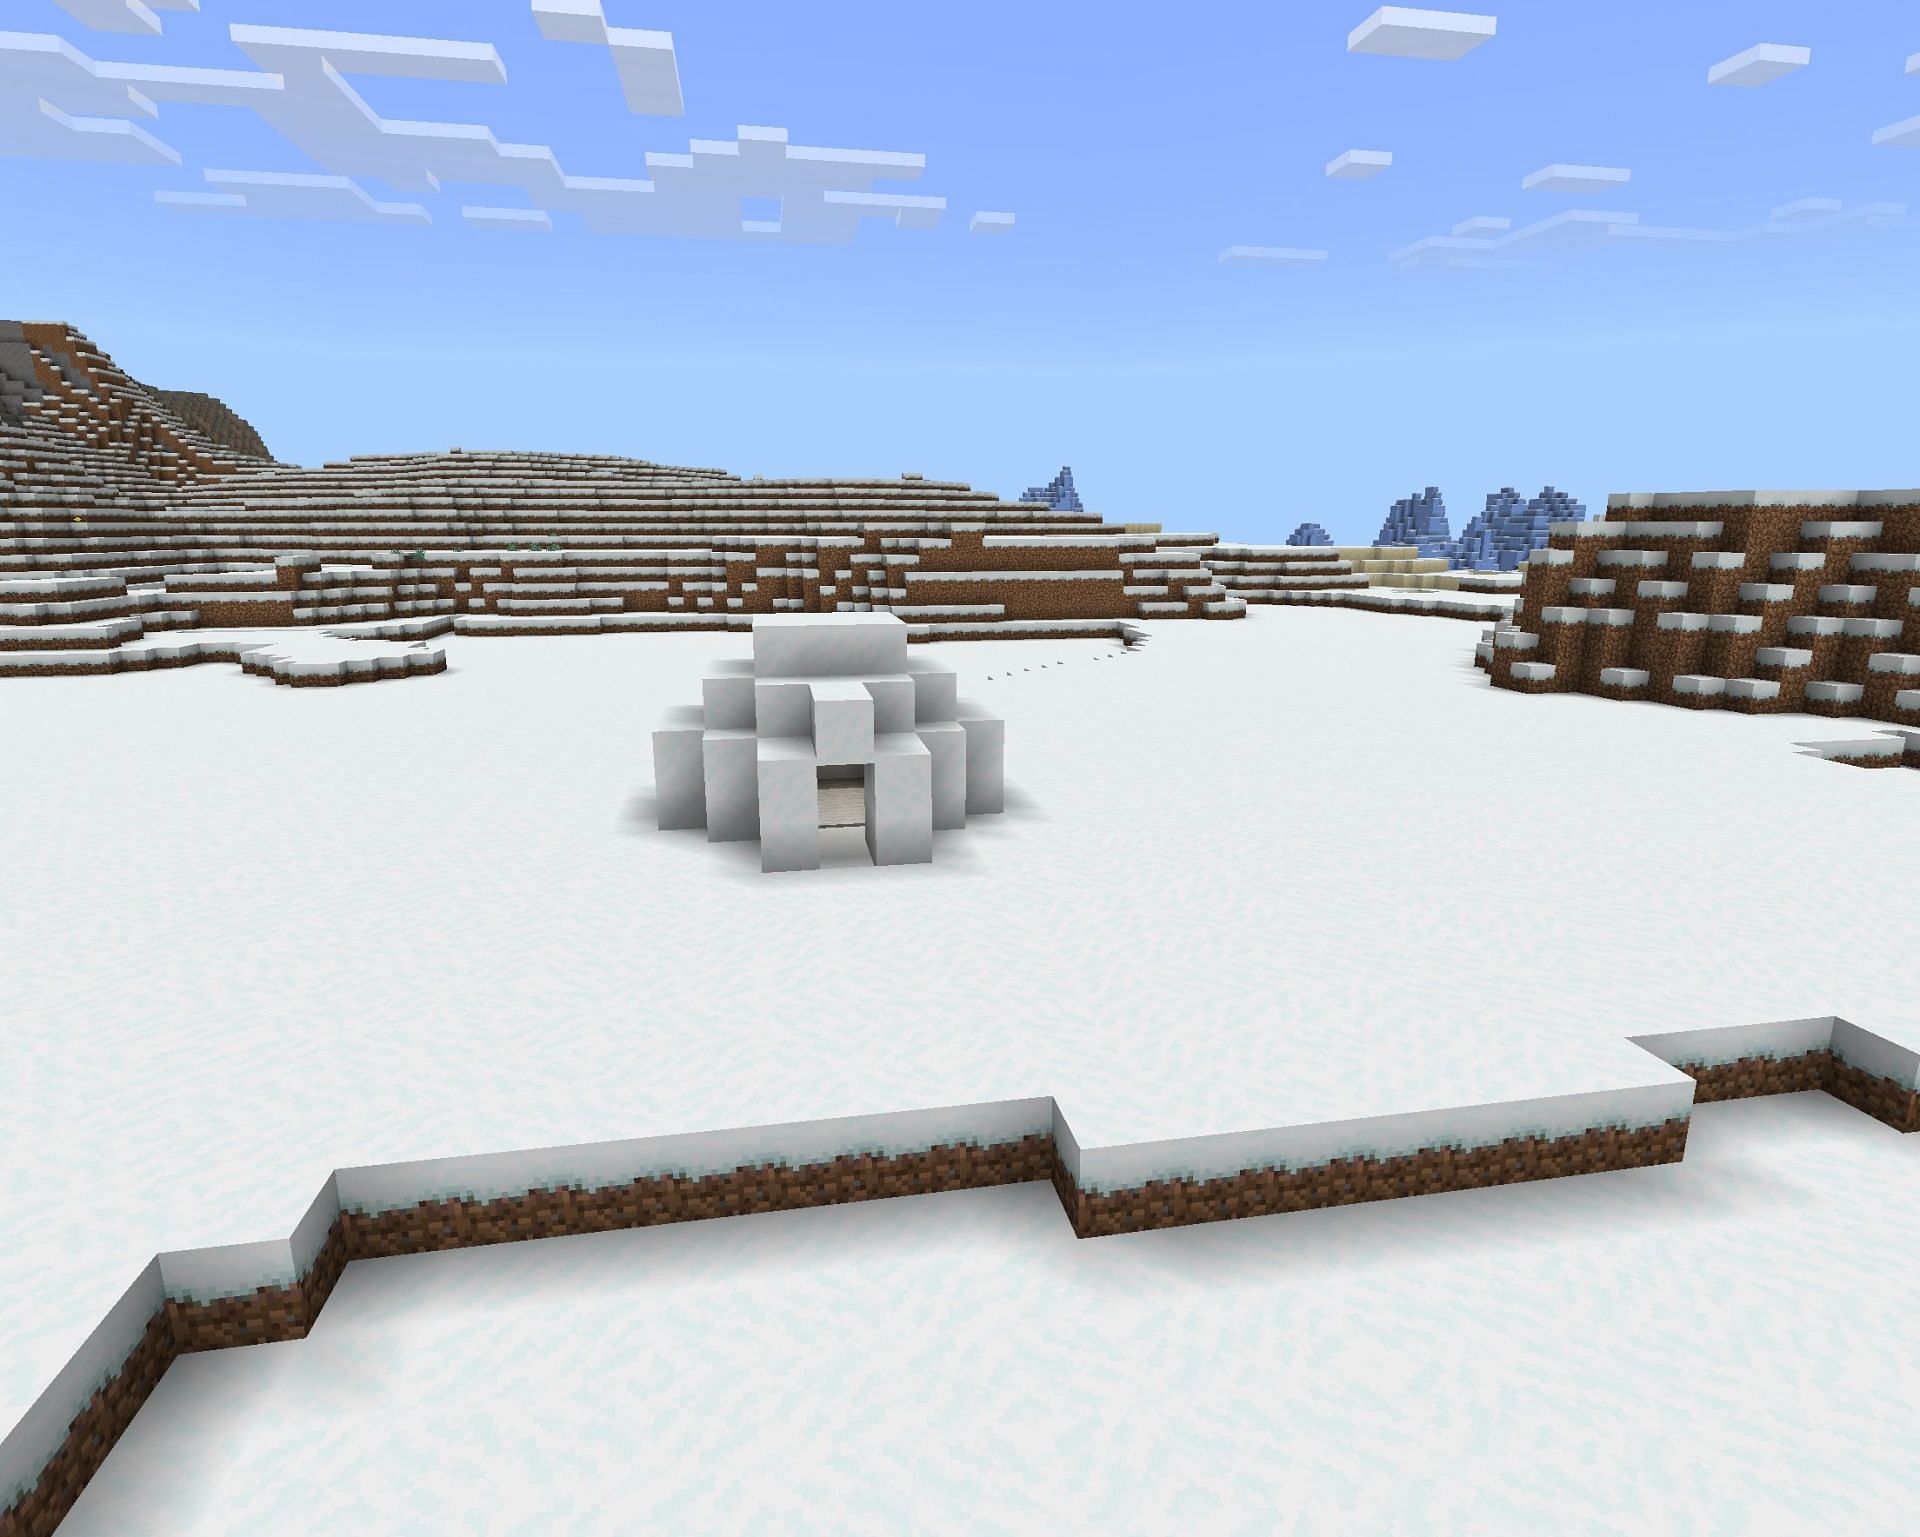
For players looking to experiment with colder biomes, such as snowy plains or snowy peak, one of the most iconic potential base builds is an igloo base. Players can either make one from scratch or take inspiration from vanilla igloos.

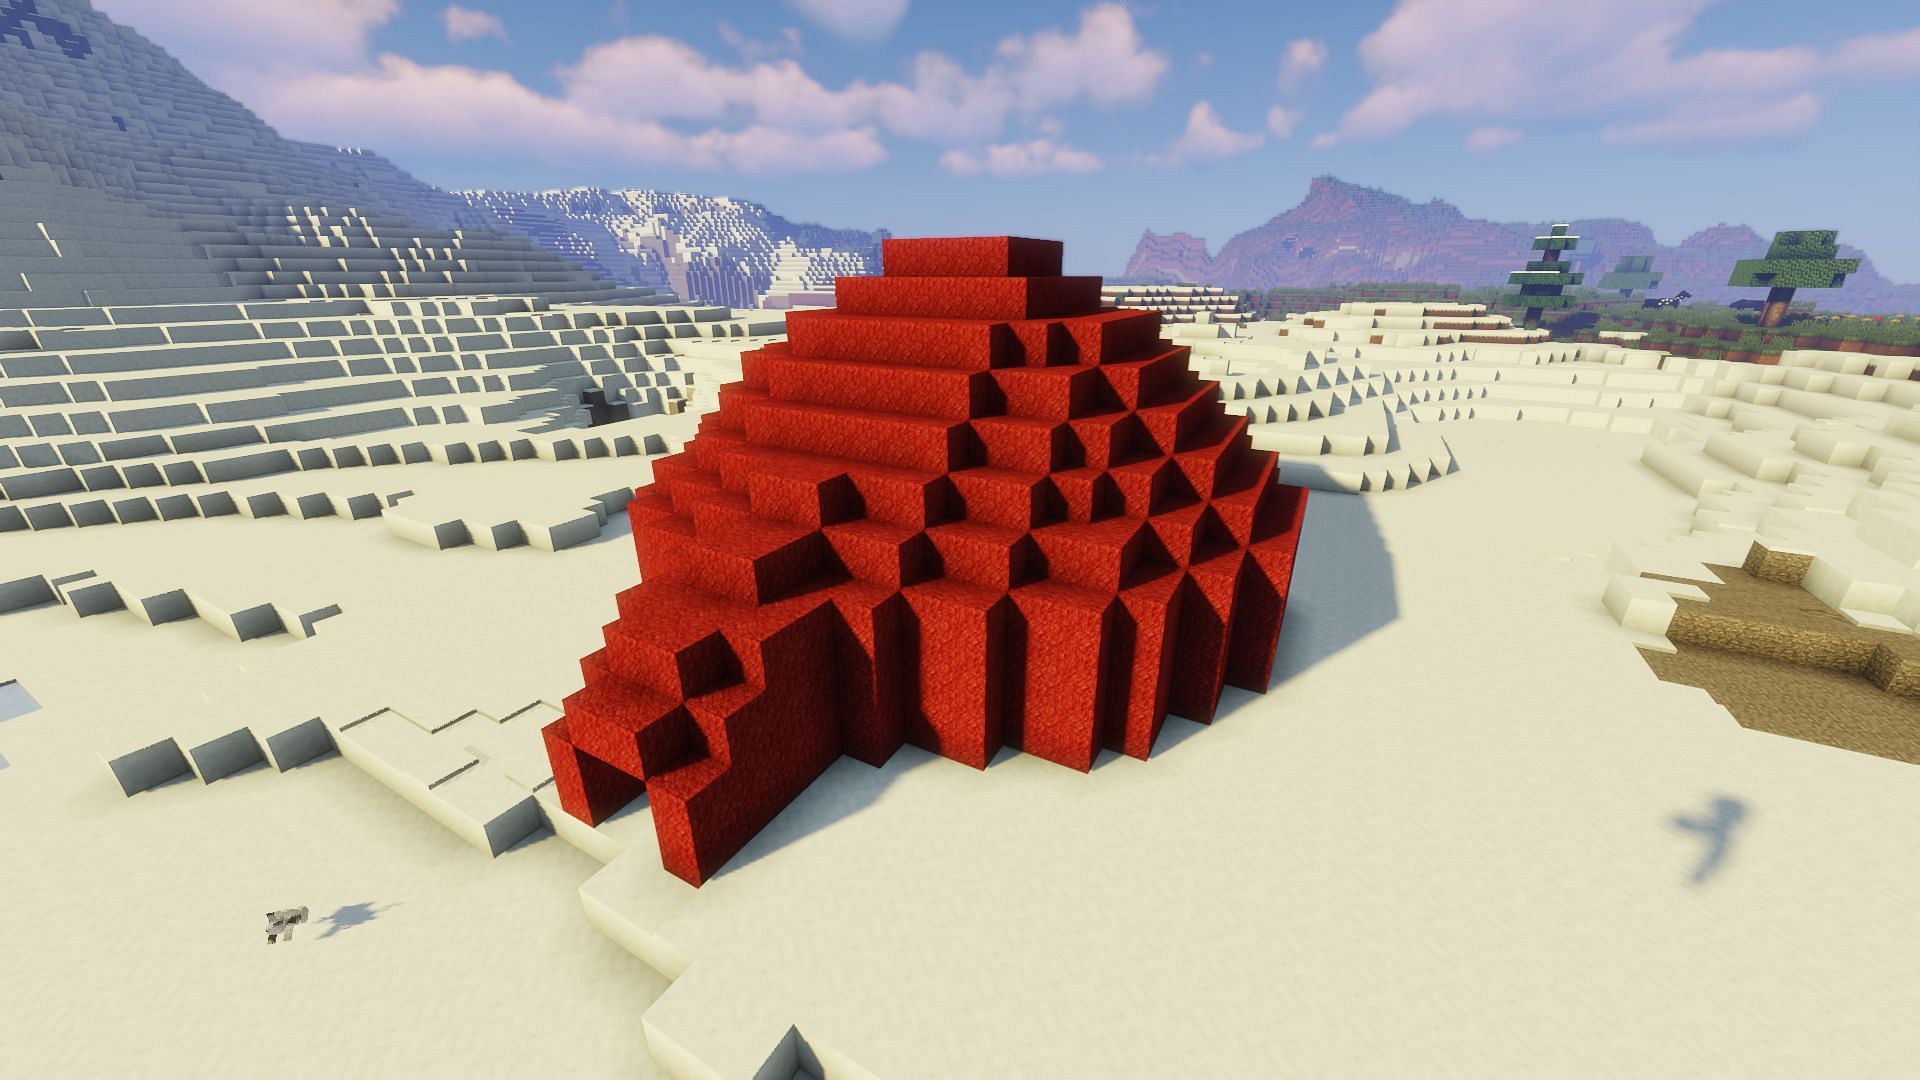
Players can make a simple igloo in any snowy biome in Minecraft
1) Find a nice area
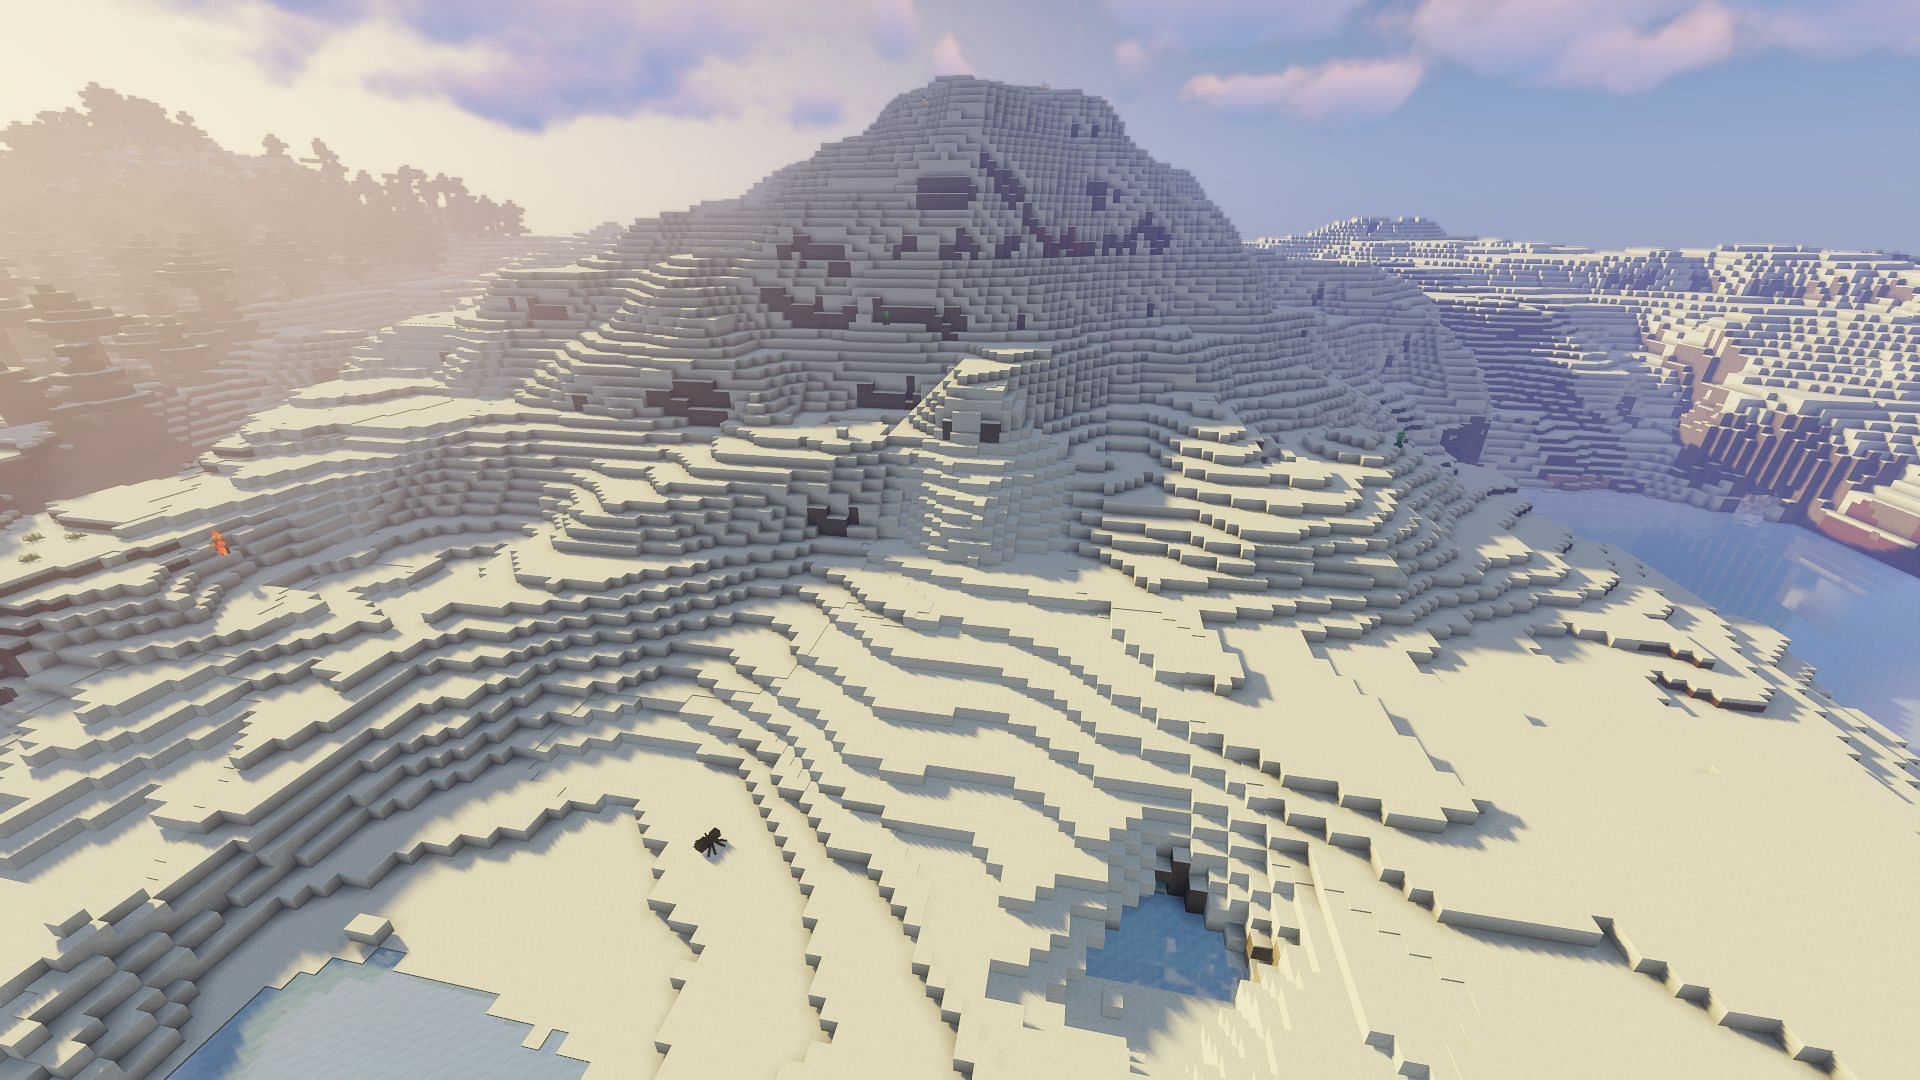
Igloos only make sense in a snowy biome, as they blend in with the surrounding snow in an incredibly natural way. Players should find some kind of snowy plains, hills, taiga, or mountain to build their igloo in. This example build will not be made with snow. It instead uses red wool to help with visibility.
2) Block out the outline
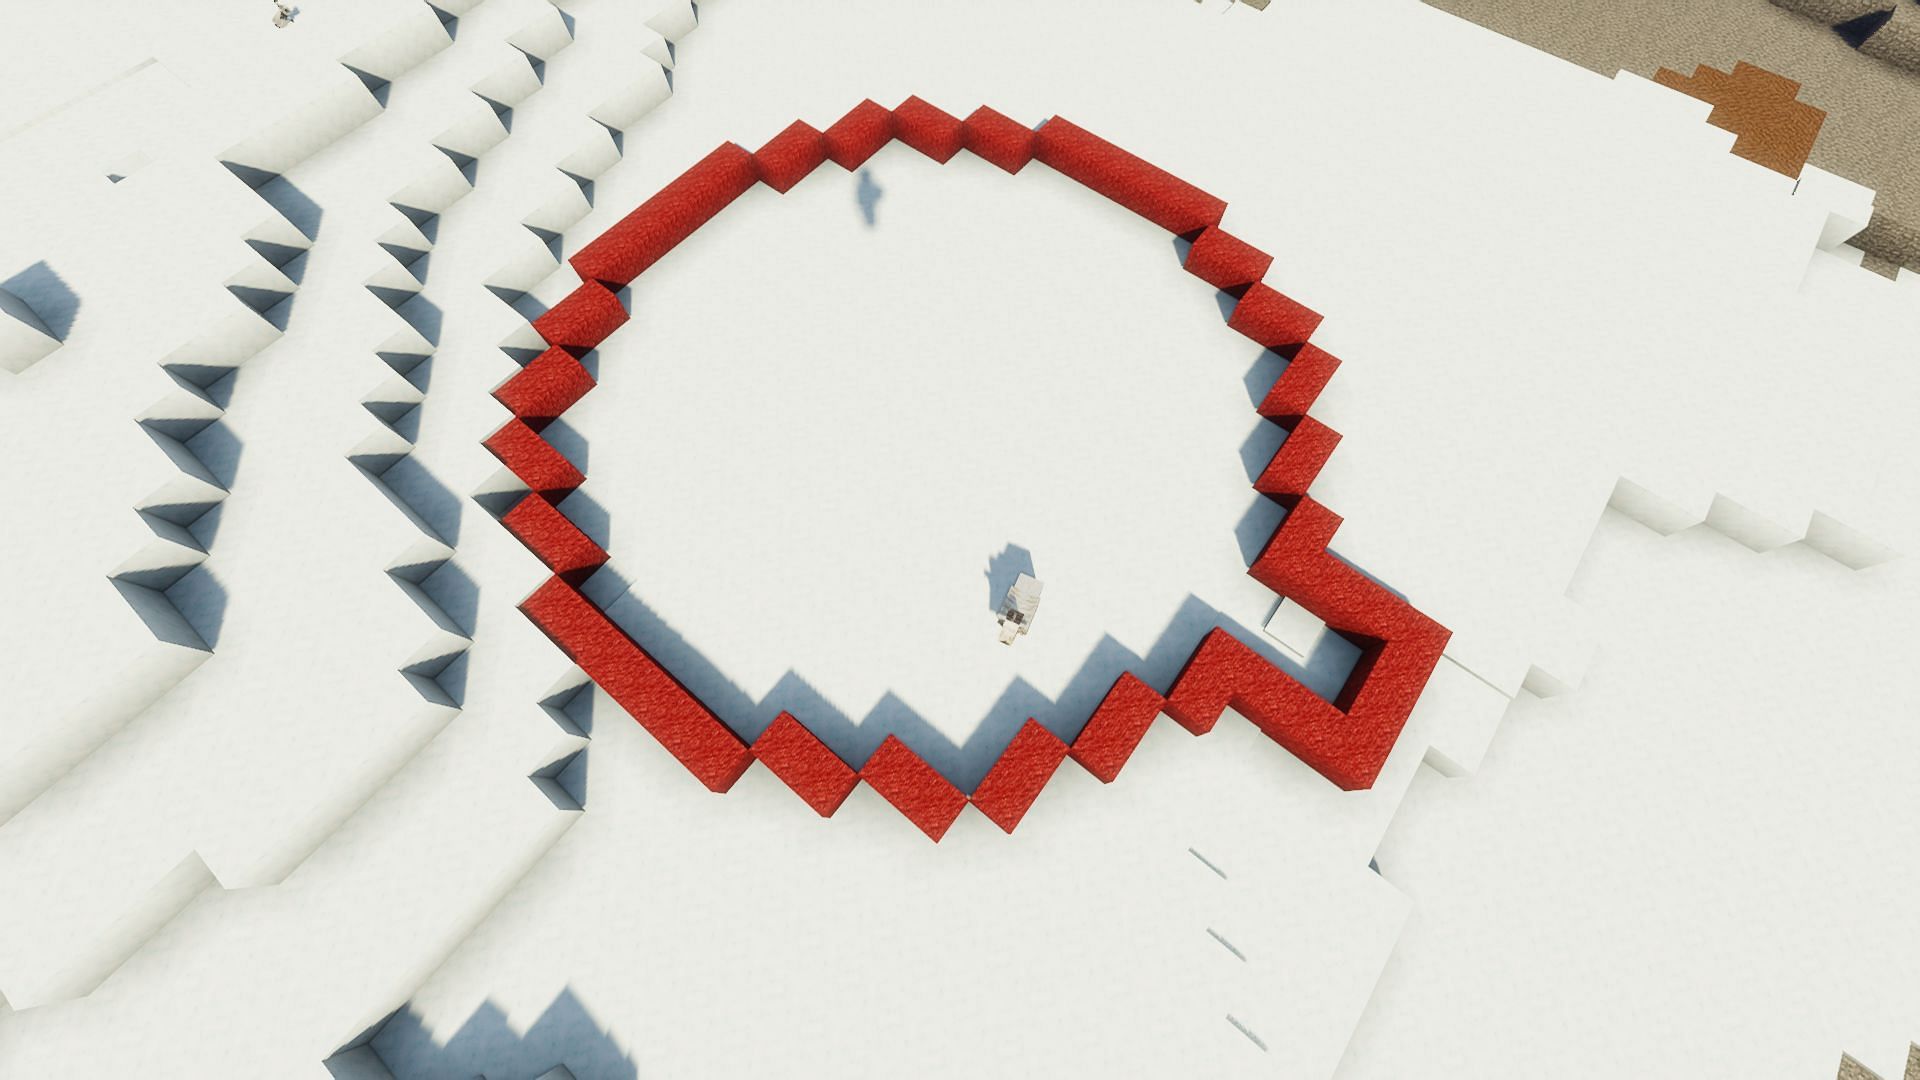
The first step that players are going to want to take towards building their igloo is to build out the outline of the bottom of the structure. The shape of igloos means that the bottom of the structure is going to be the igloo’s widest point. Players will know exactly how large the build will be just by laying down the foundation.
3) Build up the livable area
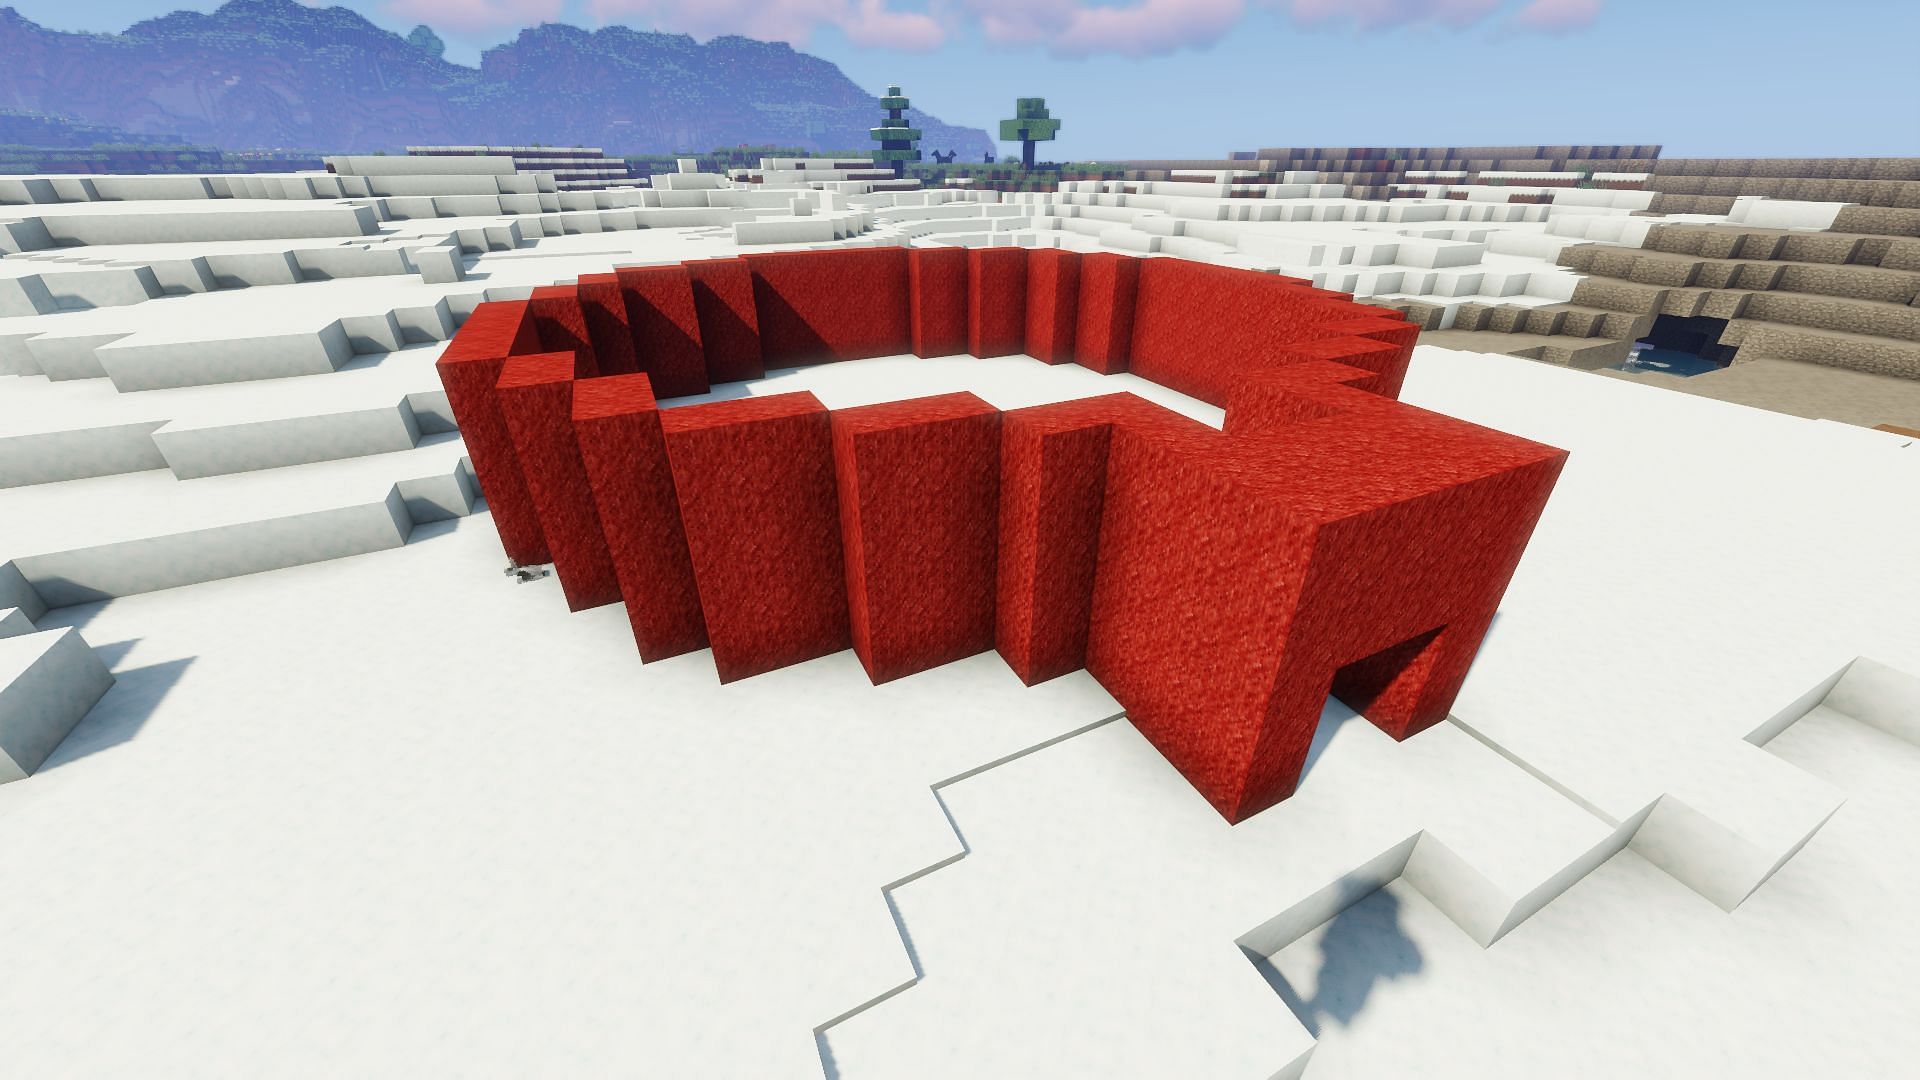
Because igloos are a hemisphere, they collapse inwards near the top. If players do not make their igloo’s walls tall enough, the ceiling may cut in too soon and make the build feel very claustrophobic. Players should build the walls up at least four blocks before cutting inwards to help avoid this issue.
4) Curve the roof in
Once the walls are built up to a degree that players are happy with, they can begin shaping the roof. There are tools available online that will help players build a perfect sphere if that is what they want, though doing so by hand helps add a nice rustic, handmade feel to the igloo.
5) Make the igloo livable
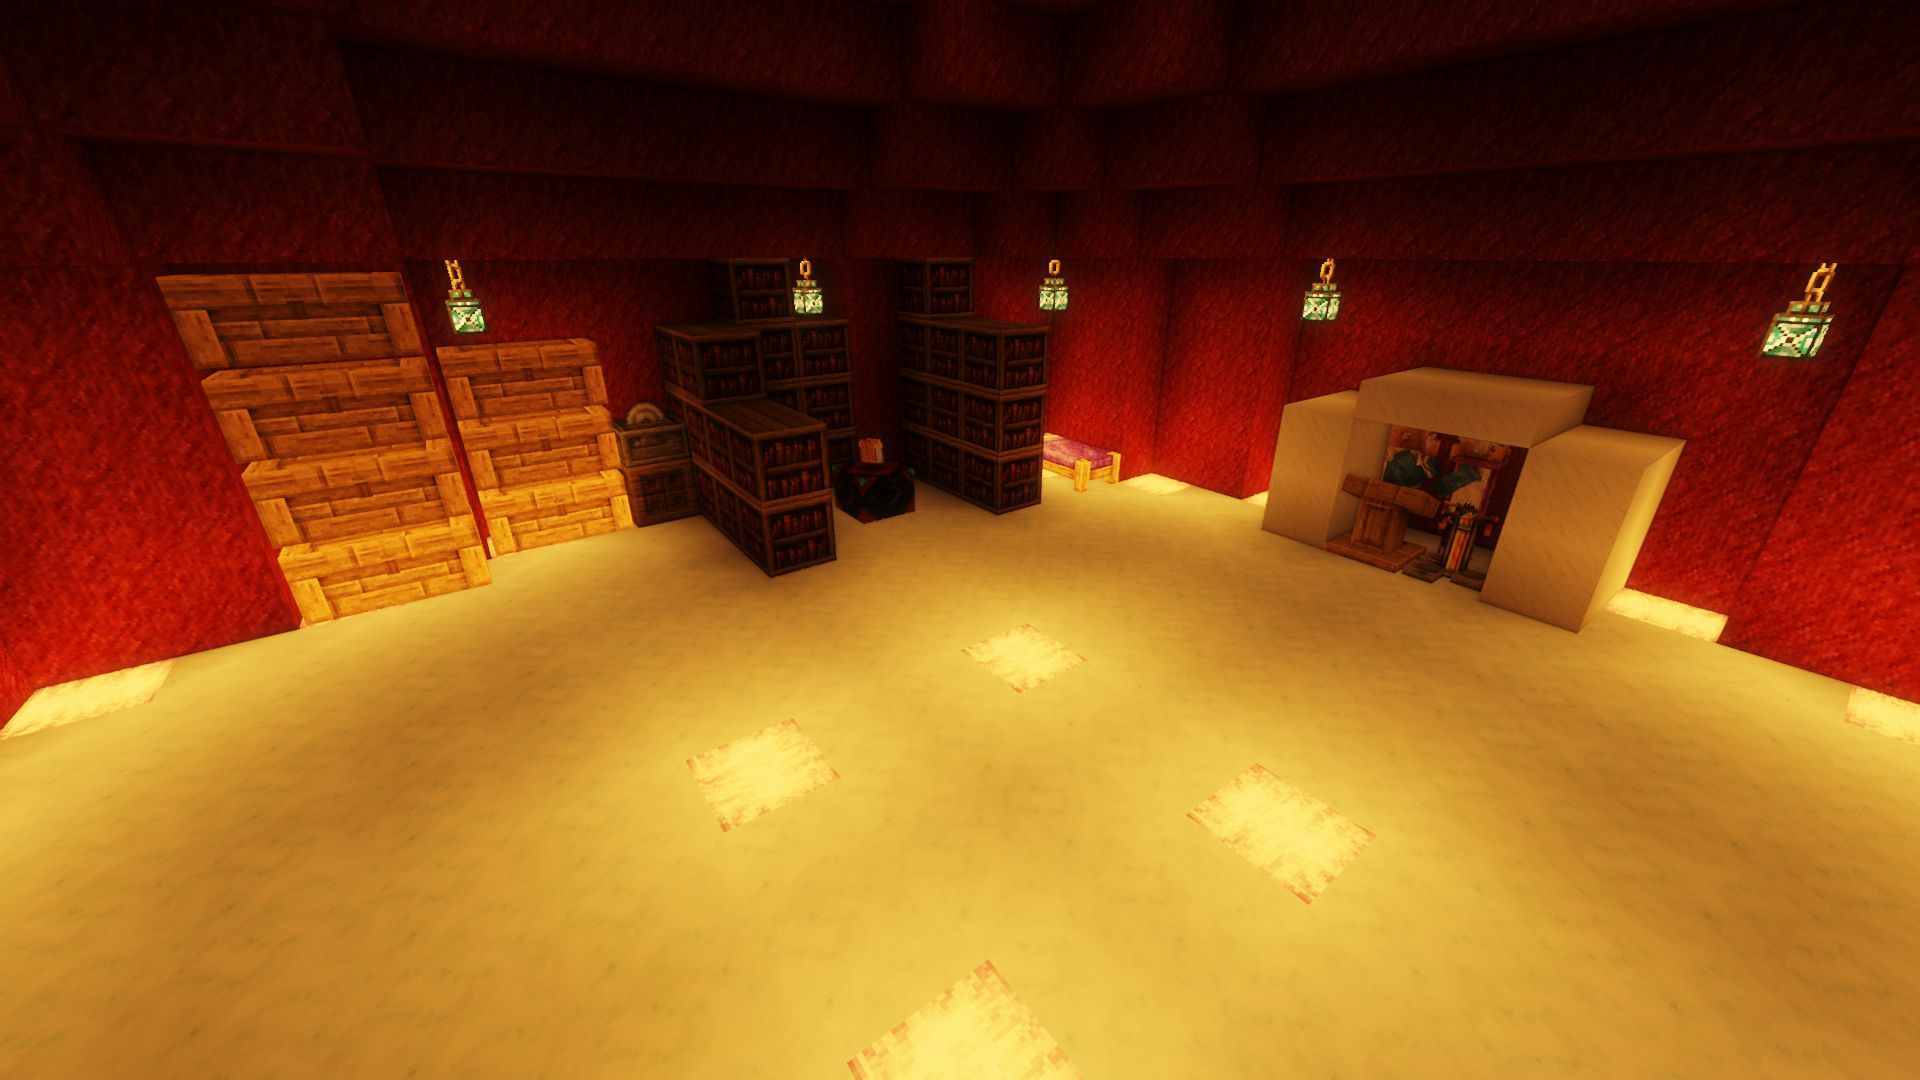
With the shape and structure of the building completed, players should begin adding basic livable items and blocks to the igloo. This includes things such as chests, a bed, a crafting table, and lighting to keep hostile mobs from spawning within the build. Players should avoid using torches and should place any furnaces underground to keep the snow from melting.
6) Extra details
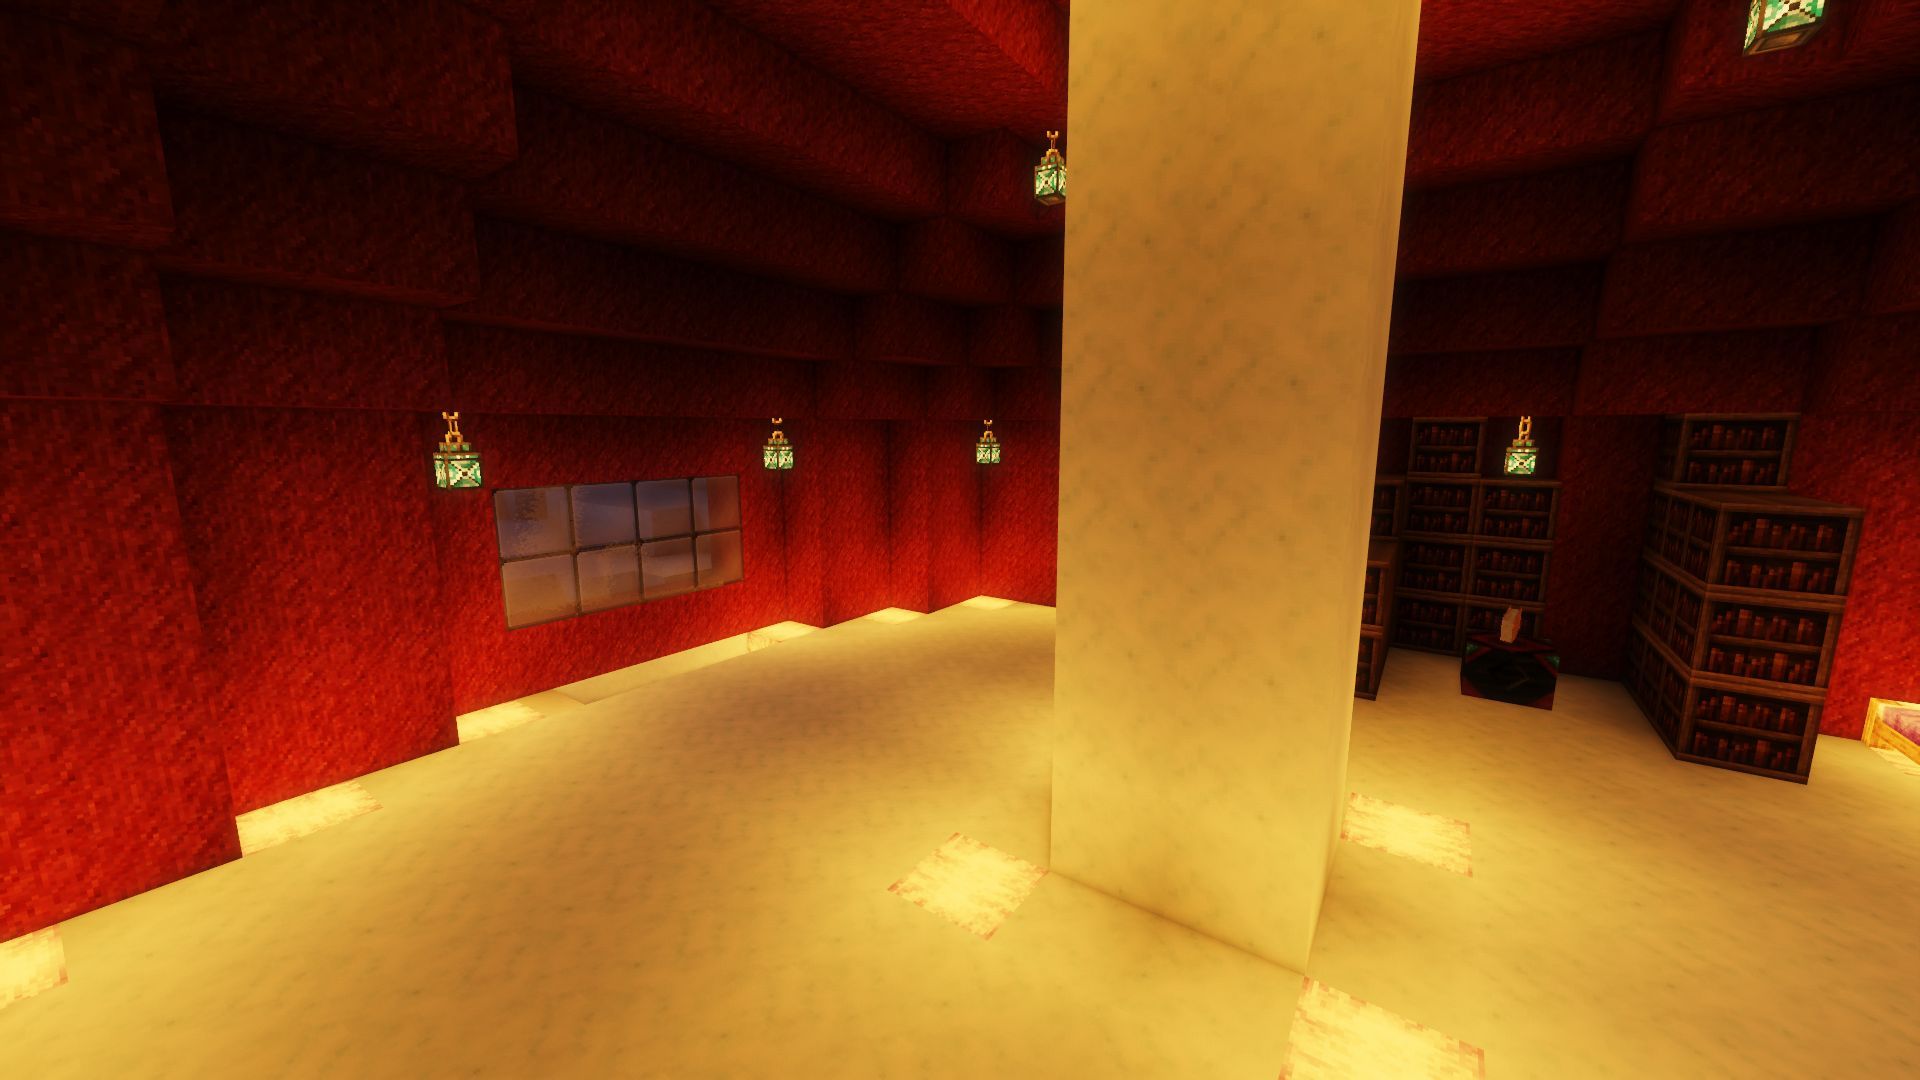
Players can now add any extra details they want, such as an attic if their igloo is tall enough, a deep basement for smelting ores and cooking food without melting their snowy abode, windows to let in natural light, or a central support pillar of snow to help take up some space.
Players might also want to experiment with separating the main body of the igloo into rooms rather than leaving it up as one large antechamber, since the large open area of the base can be hard to fill properly without things looking sloppy or disconnected.
Obsessed with Crosswords, Wordle, and other word games? Take our quick survey and let us get to know you better!
