
'%20x='0'%20y='0'%20height='100%25'%20width='100%25'%20%0A%20%20%20%20%20%20%20%20%20%20xlink%3Ahref='data:image/jpg;base64,/9j/2wBDAAYEBQYFBAYGBQYHBwYIChAKCgkJChQODwwQFxQYGBcUFhYaHSUfGhsjHBYWICwgIyYnKSopGR8tMC0oMCUoKSj/2wBDAQcHBwoIChMKChMoGhYaKCgoKCgoKCgoKCgoKCgoKCgoKCgoKCgoKCgoKCgoKCgoKCgoKCgoKCgoKCgoKCgoKCj/wgARCAAGAAoDASIAAhEBAxEB/8QAFgABAQEAAAAAAAAAAAAAAAAAAAQG/8QAFQEBAQAAAAAAAAAAAAAAAAAAAwT/2gAMAwEAAhADEAAAAM1UQh//xAAdEAABBAIDAAAAAAAAAAAAAAACAQMEEQAFITSS/9oACAEBAAE/ANkwgPRWJbxyJDwCSGopQgvNVixpl9svRZ//xAAXEQEAAwAAAAAAAAAAAAAAAAABAAIh/9oACAECAQE/AALGz//EABgRAAIDAAAAAAAAAAAAAAAAAAACAQMh/9oACAEDAQE/AK2l10//2Q=='%3E%3C/image%3E%3C/svg%3E)
Building Minecraft structures is a process that requires both time and skill, and it often brings a great sense of fulfillment as well. However, recreating the same build in another location or creating complex redstone machines can get messy fast, which is why some players opt to use helpful mods like Litematica. This nifty mod is schematic-based and helps you create, cut, and paste builds.
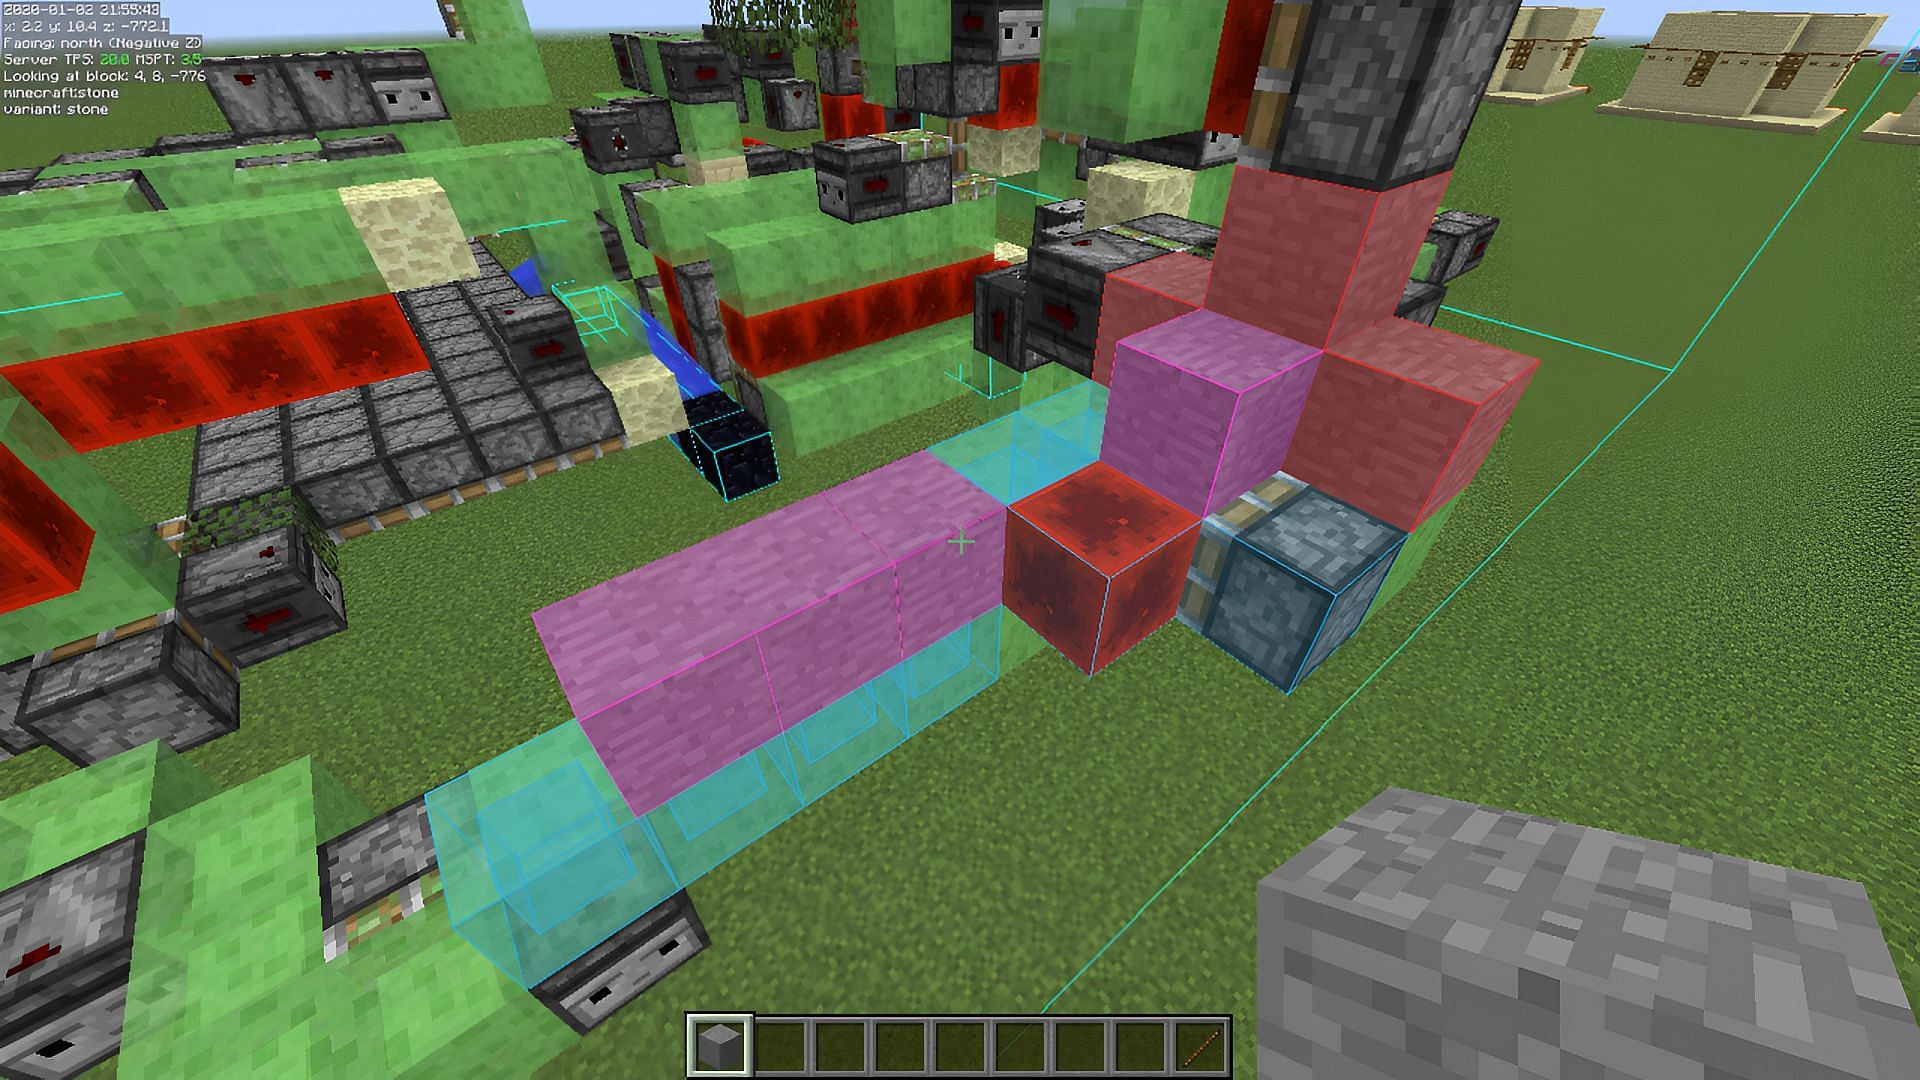
By using schematics, you can either download completed builds from various sites and paste them into your worlds or create your own projects and save them for later use. Litematica also provides helpful color-coded light-based outlines to help you visualize what your creations will look like during the process.

Since the mod can be quite complex, it doesn't hurt to go over the basic functions. Here's how you can use Litematica in the game.
Getting started with the Litematica mod in Minecraft
As previously mentioned, Litematica is a particularly in-depth Minecraft mod, so the full list of functions will be hard to cover. Fortunately, the developers have provided a wiki detailing some of Litematica's more nuanced functions at the URL https://github.com/maruohon/litematica/wiki for players who are already familiar with the basic functions.
The mod is surprisingly user-friendly, so those who have just installed Litematica can begin exploring its capabilities immediately. With a simple stick, you can get started using Litematica's editing and copy/paste features with very little prior knowledge.
It should be noted that when you equip a stick, you'll notice the Litematica menu in the bottom-left of your screen. By holding the Ctrl key and scrolling the mouse wheel or equivalent input, you can switch between the various editing and transformation modes that Litematica provides.
How to create a schematic with Litematica
- Equip your stick in Minecraft and select the Area Selection tool with your Ctrl + Scroll bind.
- Select one corner of the area you wish to select to create your schematic, then head to the other corner of your choice and right-click. This should create a visual box showing the area you've selected that will be included in the schematic.
- Press the M key by default to bring up your schematics menu.
- Select the Area Editor button. You'll be brought to a screen where you can set the parameters of your new schematic, including its name and the coordinates of the affected area. You can even use the increase/decrease buttons to reshape the selected area's coordinates for fine-tuning.
- Once the area suits your needs, simply click the Save Schematic button.
- You'll be brought to a page with your saved schematics if you have any. Name your schematic and press Save Schematic one more time to save it as a file in the mod's directory folder. You can also tick the box underneath the button to save any entities within the selection mode as part of the schematic or disallow them.
Loading and placing a schematic with Litematica
- Press the M key and press the Load Schematics button.
- Select the schematic file you wish to load, either from your own saved selections or those you've downloaded, then click the Load Schematic button in the bottom left of the screen.
- Your structure will be placed, but you may need to move it. To do so, use the Ctrl + Scroll combo to your equipped stick's Schematic Placement mode.
- Hold your left Alt key and scroll your mouse wheel or equivalent to move the structure. The schematic will move depending on which direction your Minecraft character is currently facing.
- To rotate the schematic, hold down the M key and press P. In the following menu, press the Configure button and click the Rotation button to angle the schematic to fit your needs. You can also mirror a schematic across one of its axes by pressing the Mirror button as well.
Building or pasting schematics in Litematica
- If you're constructing the schematic in Minecraft's Survival Mode, hold the M key and press L to see a list of materials. You can then source the materials and build according to the schematic until it has been completed.
- In Minecraft's Creative Mode, press M and select the Configuration Menu to paste and complete the entire schematic. Press the Hotkeys button, then search for the command in the search bar labeled "executeOperation".
- Click the button that reads "None" and enter two hotkeys you'd like to use to paste the build into your Minecraft world.
- Return to gameplay and set your stick to "Paste Schematic Into World" mode. Press the key combination you entered earlier, and the build will paste itself into the world.
- To remove the selection borders around the schematic, press your M key and select Load Schematics, then find your build and press the Unload button.
These are the basic functions of Litematica in Minecraft, but there are many more features and applications to explore. Unfortunately, these are a bit more complex and tricky to cover in detail, but the developer wiki and library of player-made videos are a great starting point for inquisitive fans.
Obsessed with Crosswords, Wordle, and other word games? Take our quick survey and let us get to know you better!
